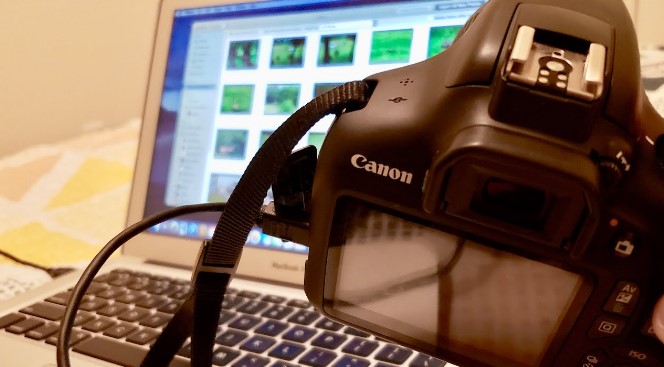
Connecting your Canon camera to Mac is easy, but not everyone knows how to do it. You can either go wired or wireless, or even use the SD card to import files to your MacBook.
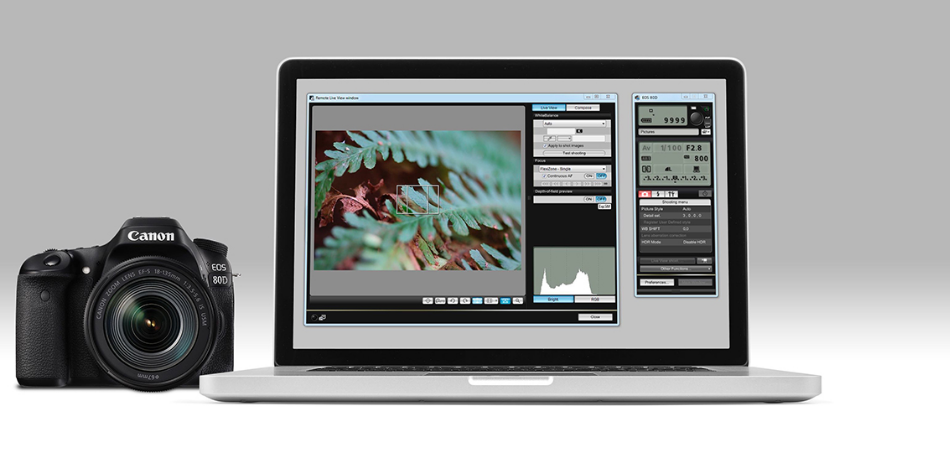
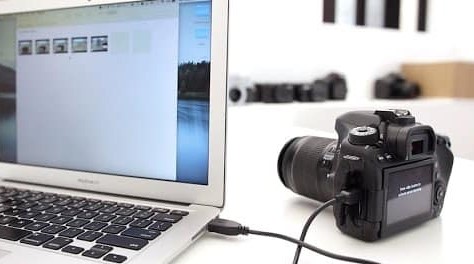
The most popular and foolproof method to connect a Canon camera to Mac is to use a USB cable. Now turn on both the camera and your computer and then install Canon’s EOS Utility software onto your computer. Open it up and select “Connect Camera” from the menu bar at the top of the screen.
From here, you can preview images on your camera and transfer them over to your computer by clicking “Import”. If you want to delete photos from your camera instead of transferring them, select “Erase” from the same menu bar.
This is just the basics. But what if you don’t have a USB cable? Well, there’s nothing to worry about as I’ll explain in detail how to connect a Canon camera to MacBook using SD card adapter and the utility app (wireless) as well.
Let’s get to it then!
How To Connect A Canon Camera To A Macbook?
Just like I said before, you’ll need a USB cable to your Canon connect to Macbook; however, there are other methods you can do this. You can also connect wirelessly or through an SD card, and I will explain each step below to you.
1. Connecting Your Canon to Macbook Using a USB
You can connect your Canon camera to a computer using a USB cable. This will allow you to transfer photos from your camera to your computer or vice versa.
Make sure that both devices are turned on and connected to get started. Then, follow the steps below:
- You need to pick your USB cable, locate the USB slot in your camera, and insert it. Next, locate the USB port in your Macbook and insert it there. Not all USBs can do this kind of task, and the best for this task is the Micro-B plug.
- Now, download the EOS Utility for MacOS to move/copy images from your camera.
- You should keep the camera turned on and wait for your Macbook to connect with an external device.
- From here, the utility app will show features and functions you can choose from.
- Go ahead to follow the instruction that you see on the screen to transfer files from your camera to your Macbook.
2. Connecting Your Canon to Macbook Using an SD Card
If you want to take pictures and have a Canon camera, you need an SD card. It is a small memory device that lets you store pictures and videos.
To connect your camera to an SD card, follow these steps:
- Turn off your camera and then reach out to the SD card slot.
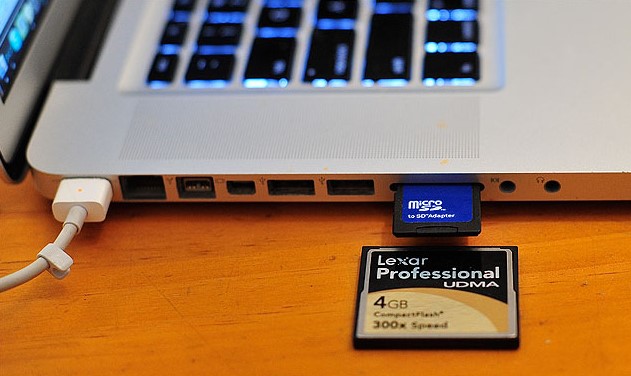
- Remove the SD card and then insert it into an SD card reader.
- Insert the card reader into the right port in your Macbook and wait for your computer to detect the removable device.
- Click on the SD folder shown on your Mac screen, and then you can transfer files from your SD to your mac.
3. Connecting Your Canon to Macbook Wirelessly
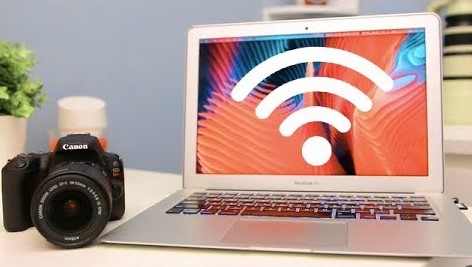
A wireless connection between your camera and computer allows you to transfer images quickly and easily without cables or a card reader. You’ll want to check the settings on your computer and camera and find out how you’ll need to connect them before you start using your wireless setup.
- First, you have to install the utility software on your MacBook.
- Download the latest software from Canon’s official website.
- Turn on the camera.
- Go to settings on the camera and locate the wireless settings.
- You need to switch on your Macbook Wi-Fi and search for the Canon signal.
- Make sure you pair the two devices together.
- Once you paired the two together, then you can go ahead to transfer your files.
Read Also: How to Transfer Camcorder Tapes to Computer?
How To Transfer Photos From Canon Camera To Macbook?
Digital cameras are undoubtedly the best tool for photography, but still you may require some post-editing for better results.
Take car photography for example. If you are a car photographer, you should know the importance of getting a good camera for car photography, and Canon is one of those to consider. But, to make your products more appealing to your customers, you definitely need a computer and editing software like Photoshop.
So, how to transfer photos from your Canon to MacBook comes as the next question. Find out how in the steps below-
Step 1: Connecting the Camera
Connect the camera to your computer using a USB cable, wireless method, or SD card. Wait for a few seconds until both devices are connected properly, and then click on “Import” in the menu bar at the top left corner of the screen.
Step 2: Import Settings
Select the pictures first using the drop-down menu found at the top right corner of the window.
You can also choose whether or not you want individual photos or entire folders imported into your computer by checking or unchecking the “select all” option under the import tab.
Once everything has been selected according to preferences, click on “Import“.
Step 3: Locate the Transferred Files
Now locate the export folder to make sure all your photos are transferred properly. From here on, you can either back up all your photos, edit the ones you like, or send photos to your clients if you are a professional photographer.
Conclusion
I’ve explained all three methods of how canon connect to MacBook on this page. You can now back up photos and videos from your Canon camera to your Mac without worrying about any data loss. Just make sure you use a working USB cable while connecting, and you are using the EOS Utility specific for your camera and MacOS model.
However, how much time it takes to transfer files totally depends on how many files we’re talking about and the MacOS version in use. Just be patient, your photos will be transferred before you know it!

