
Whether you are a professional photographer working in a commercial studio or a beginner, taking a picture of glass without reflection can be a bit intimidating and challenging as well. No wonder you might ask yourself a thousand times, “how to photograph glass without reflections?”
To be honest, this question does not have a single answer. To photograph glass without a reflection or shadow, you must follow a few tips and techniques, including but not limited to “using a backlight, wearing gloves, switching angles, and many more.” With the right approach, photographing a glass can be enjoyable and rewarding.
After an introduction, we aim to provide a detailed analysis of these tips and more relevant aspects of the topic. Keep reading to find out more!
6 Tips To Photograph Glass Without Reflections And Shadows?
Here we have accumulated a few techniques. If you use these tips effectively, you can get the perfect shot and eliminate the reflection and shadows in the photo.
1. Use Backlight
Backlighting is the simplest but most efficient way to eliminate glass reflections. A backlight is a lighting source that is placed behind glass.
In a professional studio, a softbox or diffuser behind the photographing object can be an example of a backlight. The sole purpose of the backlight is to light the object being photographed evenly, eliminating any reflection.
2. Minimize Yourself Reflecting On The Glass
How to do so? Before you click, make sure to wear a glove. Black globes and cloth help eliminate reflections of yourself on the glass.
Bare hand is likely to leave fingerprints and may ruin your effort to capture a clear picture. In addition, the glass surface should be clean. If there is dirt on the glass, the camera will capture any remaining dirt.
3. Using a Softbox Behind the Glass
Glass cannot be photographed under normal lighting conditions because the light is not evenly dispersed across the object’s surface. For this reason, professional studios use diffusers or softboxes. A softbox is put behind the photographic element to distribute light evenly.

The size of the softbox also has to be taken into account. A strip box can be a good example. Overall, the box’s size should be such that it completely encloses the object.
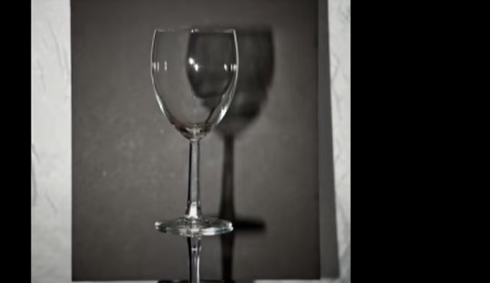
4. Create a False reflection underneath the Glass
To create such a reflection, you have to use two identical glasses and put one upside down and the one you want to photograph on top. Look at the picture below; you will get the idea of what we meant to say “Create Flash Reflection underneath the Glass.”
Now onto the lighting. If you shoot something like a wine glass, you should not just pop a straight flash right into it. The surface acts like a mirror, and you will see a small point of light, which is a reflection.
5. Using a White/Black Background
If you have a big softbox for your flash, go ahead and use it, but you can also use just a piece of white foam core or white background paper and direct your flash to hit that.
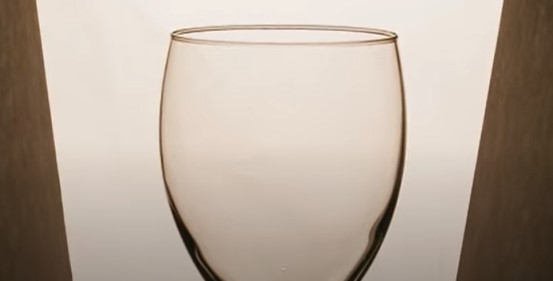
When shot this way, you can see the black edges are what define the shape of the glass. The black is basically a dark reflection of everything else in the room, which may or may not be dark enough or even symmetrical.
So what you do is use negative fill and surround your set with a black foam core that will block out as much of the room as possible. Now you will see the black on both sides reflected on the glass, which defines the shape.
The same thing works in reverse by using the same black foam core to create a background. The light is slipping out from the surrounding sides, giving it a cool look.
6. Use Lens Hood
A lens hood can effectively eliminate the reflection. It can effectively block unwanted glare and reflections by shading the front of your lens.
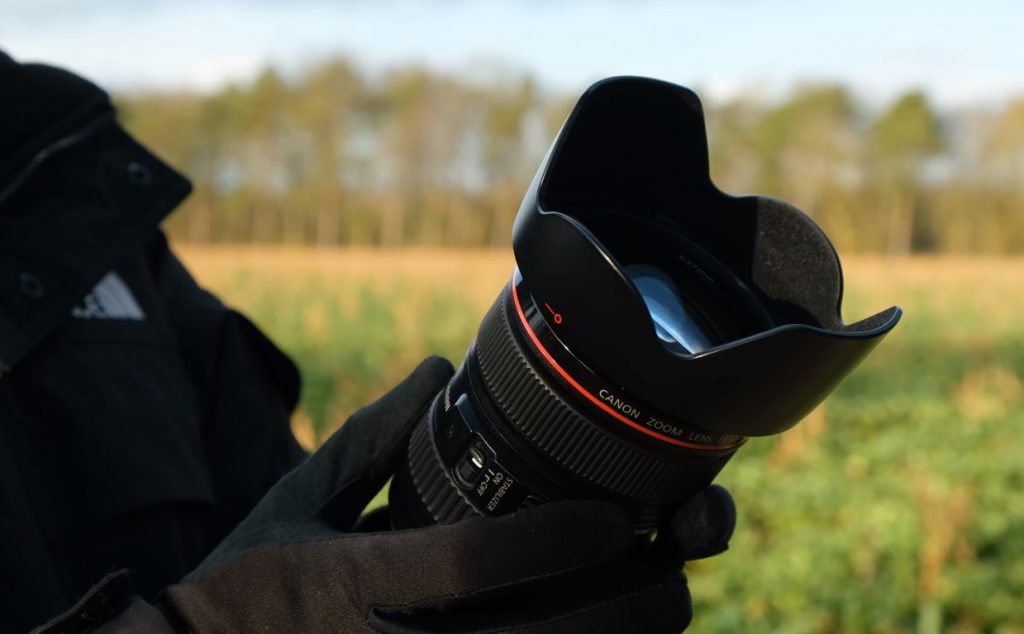
In order to block the light source or prevent light from falling across the lens, the lens hood is typically fastened to the front of the camera. Simply put, the lens hood blocks light from the camera.
Position yourself in the right Way
Try to avoid standing under the light sources. A problem occurs when you photograph a large object with a larger light source than usual. You can reduce your reflection in the glass by choosing the proper position for yourself.
Few Fundamental Advice
- If there are other lights in the room, make sure you cover all other lights in the room. However, do not cover the light source that you have used to minimize reflection.
- Position your light source in a way to avoid reflection from the softbox
- Use something black behind you, so the background does not reflect on the glass
- If by any chance you fail to avoid reflection, remember that you can edit and eliminate reflection
- Unlike front lighting, try to use back and side lighting
- Use a light tent if the photographic element is smaller
How Do You Get Rid Of Glass Reflections And Shadows From A Photograph?
While taking photographs of glass, sometimes you may make mistakes and fail to avoid reflection. However, you can remove reflections using photo editing software like Affinity Photo, though removing glare and reflections can be difficult. Here is a step-by-step guide:
Step 1: Upload the Photograph
Open your Affinity photo software on your computer. If it is not installed already, then install the software first. Now you can upload the glare image into the software.

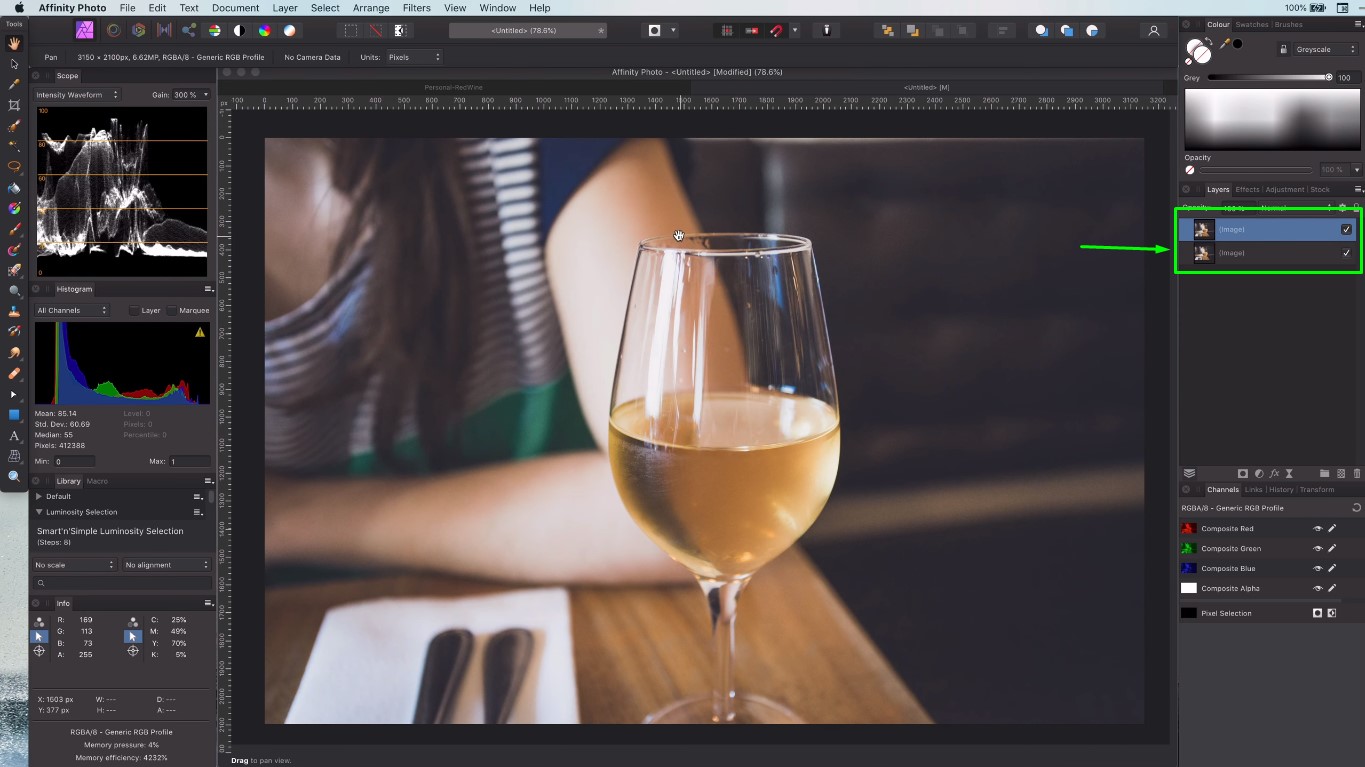
Step 2: Use the Default Clone brush tool
First, duplicate the layer, so we don’t lose the original. On the duplicated layer, we will do cloning.
The best way to remove the reflection of a glass is to use the Default Clone brush tool from the affinity photo.
Step 3: Start by using the dark mood in the clone brush
At this stage, we will remove the reflection by selecting the dark mood in the clone brush with a flow of around 20 percent.
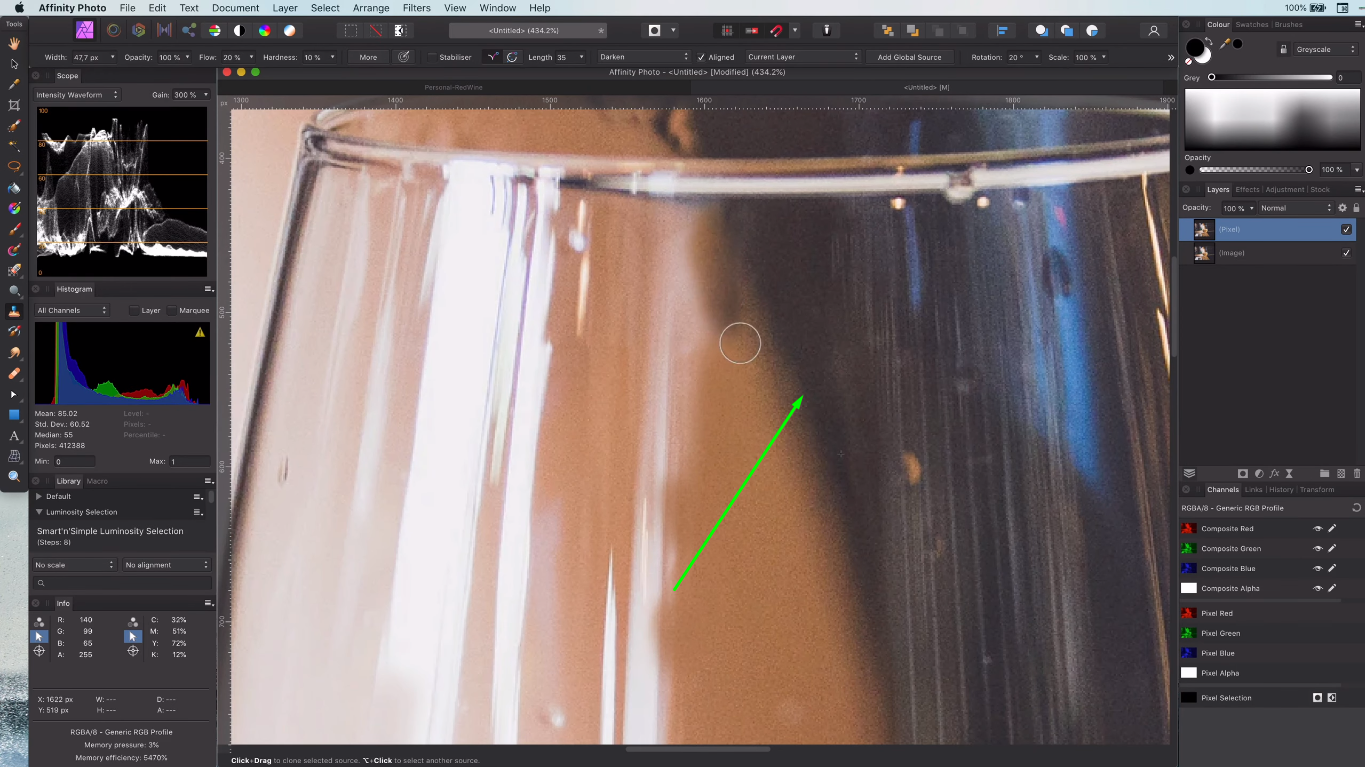
Depending on the situation, you can change the flow or switch back to the normal blend mode. You can also switch to the healing brush if the clone brush doesn’t work well anymore.
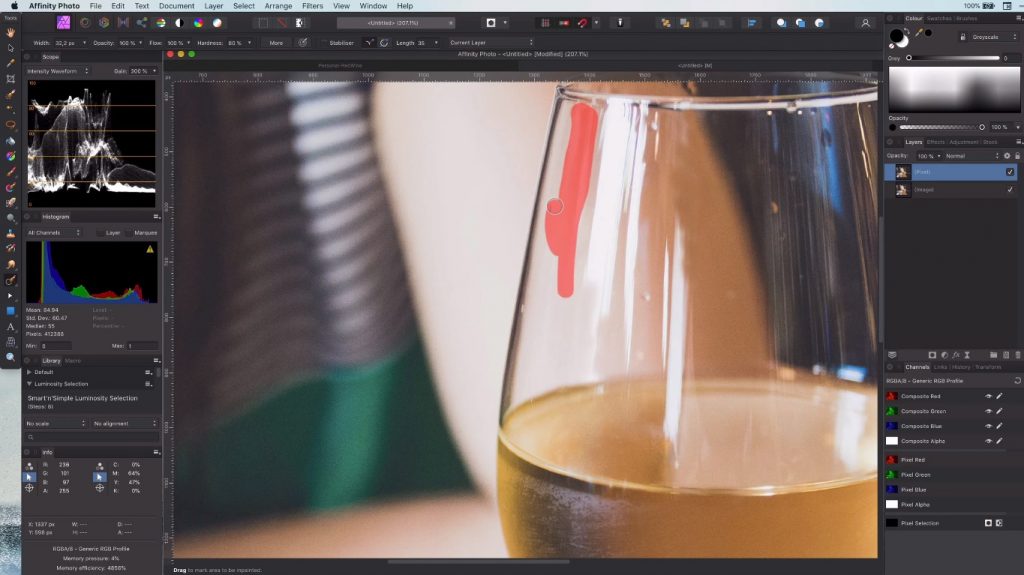
Step 4: Im-paint tool
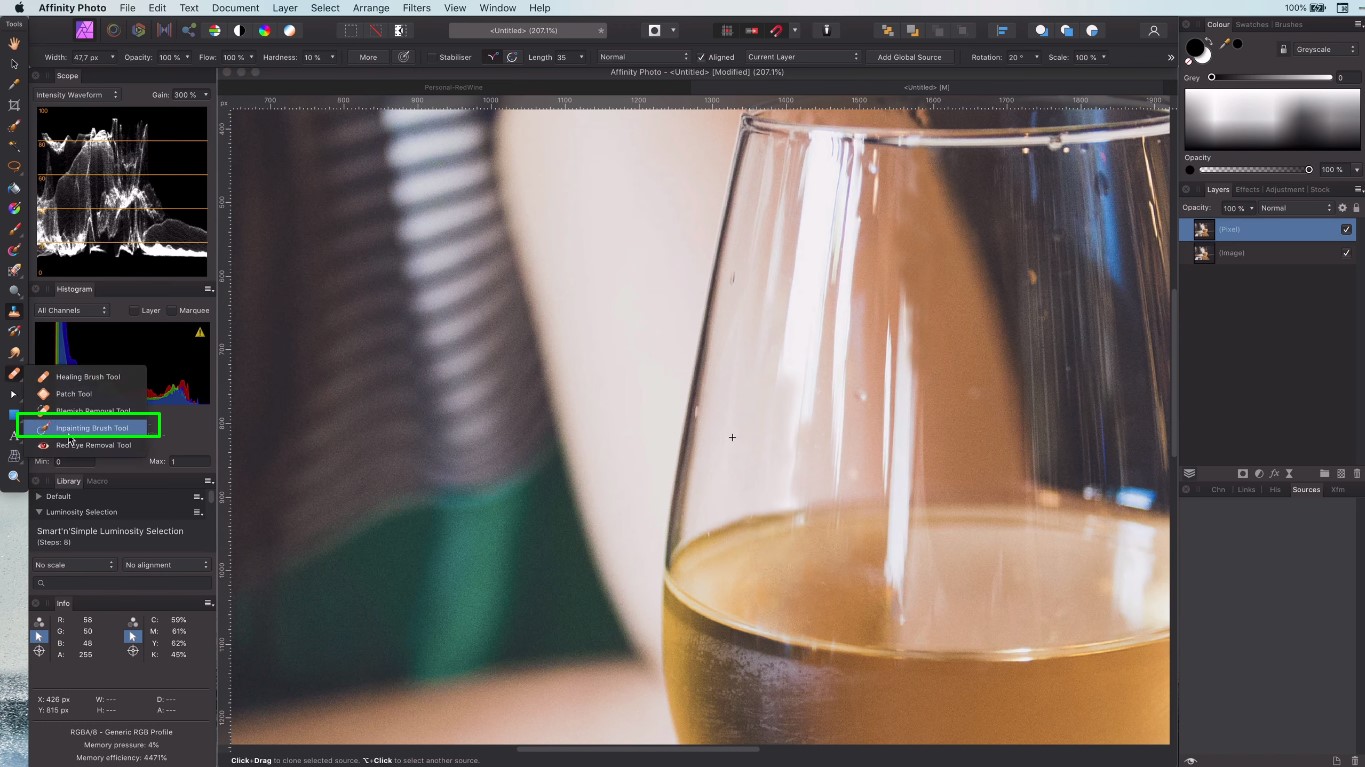
Sometimes you can make your life a bit easier. In the left corner of the software, you will find the Im-paint tool. Later, by using the im-paint tool, you can fix the error created by im-paint.
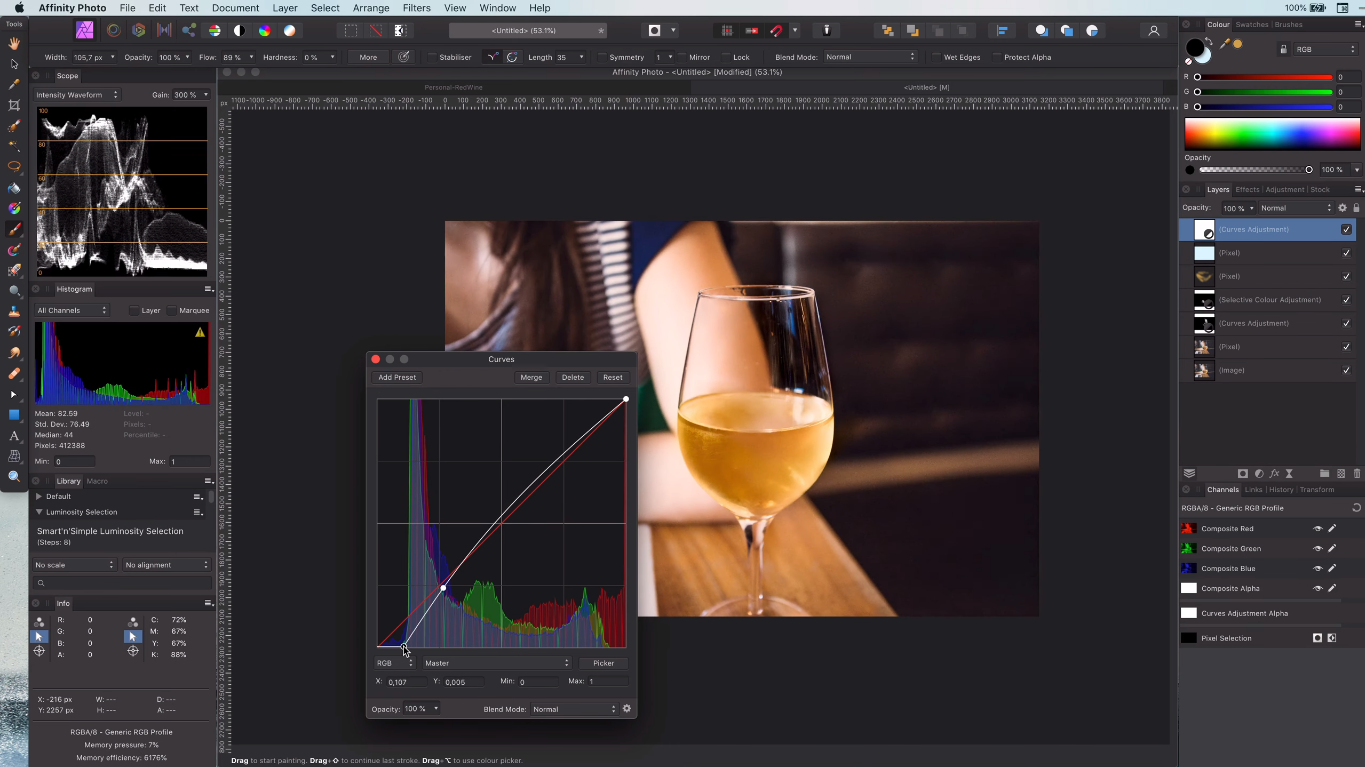
Step 5: Use the Curves layer to tone down the glare
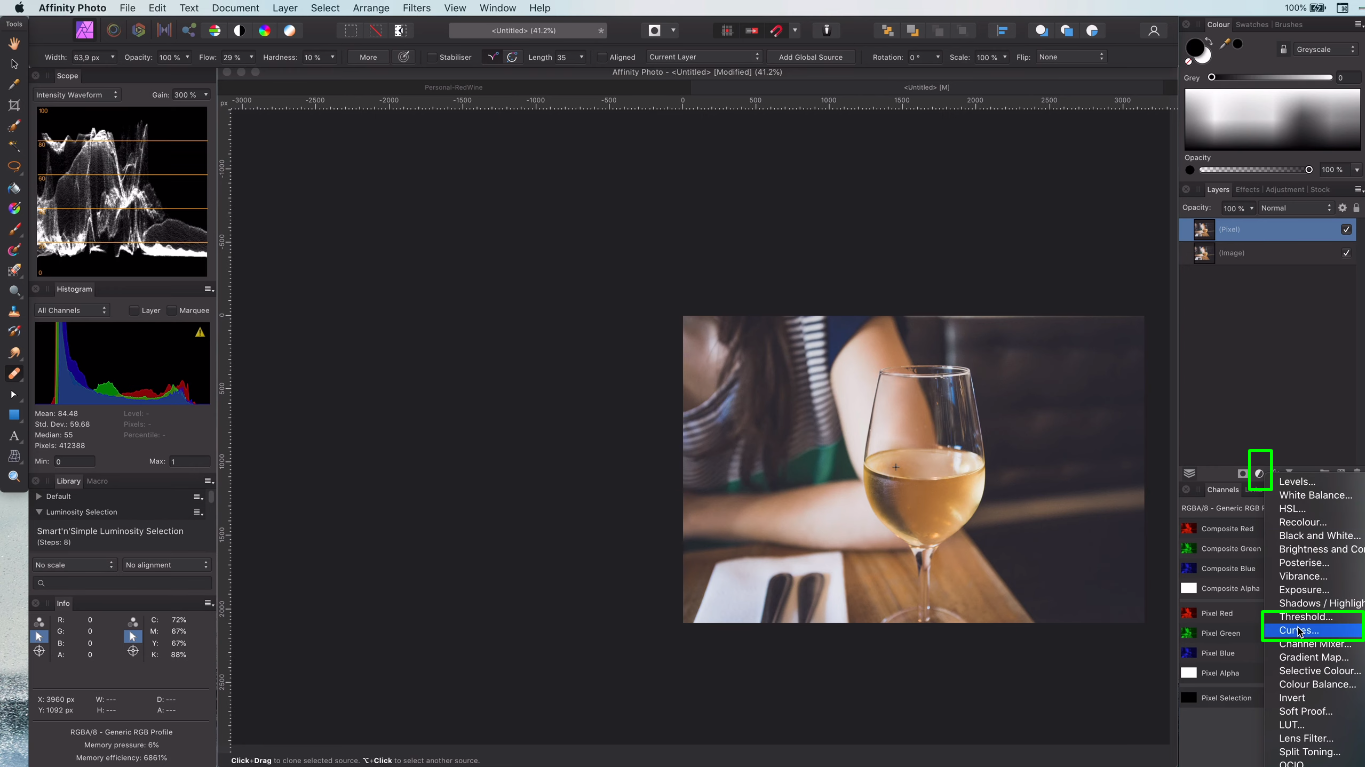
So let’s apply a curve layer and darken things up. Invert its mask and paint on the area we want to tone down. After painting the area, we can go back to the curve to fine-tune it to make it look natural.
While these are the basic steps, you can try other options to fine-tune the picture and eliminate the reflection. The below images show the before and after state of editing-

Conclusion
Reflection is a flaw in your photographic skill. While eliminating reflection can be challenging, to a certain extent, it may not be possible. However, using proper techniques can effectively remove the reflection and shadow from the glass.
While you can broaden your search for more recent techniques, we attempt to discuss some of the best ways to remove reflections and shadows from photographs.
You always have the option to edit the photo using photo editing software if you cannot remove the reflection. We believe the writing was helpful. Now, it’s time to get your perfect shot.