
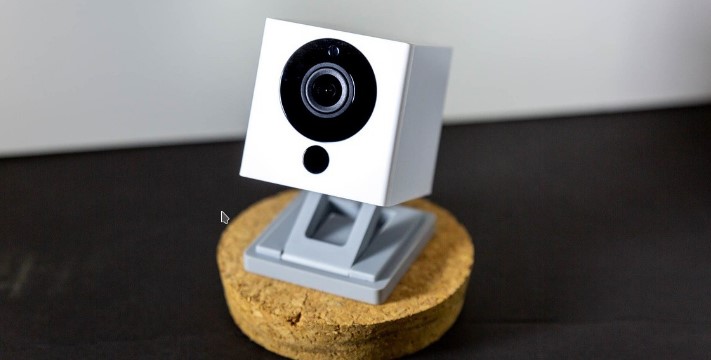
Zmodo is currently one of the top security camera brands you can have for homes and offices. Most of their cameras record video upon detecting movements. However, not everyone knows the right Zmodo camera setup, so I will take you through it in this article.
The camera is quite easy to set up if you know the right procedure to do it. There are different ways you can set up a Zmodo camera, but first, you need to install the camera, download the Zmodo app, set up wi-fi, and use a strong internet signal.
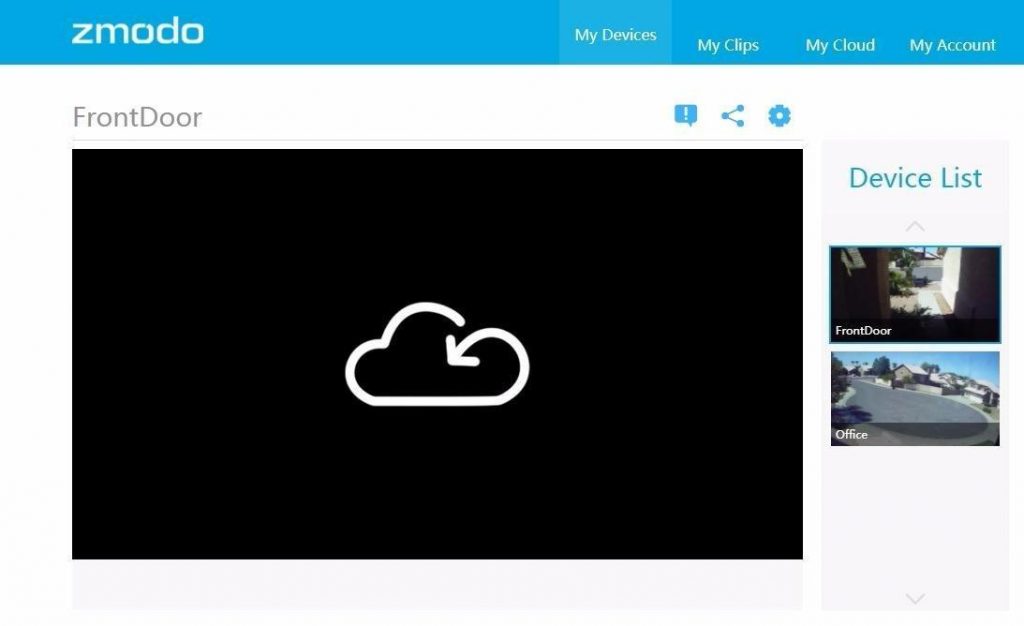
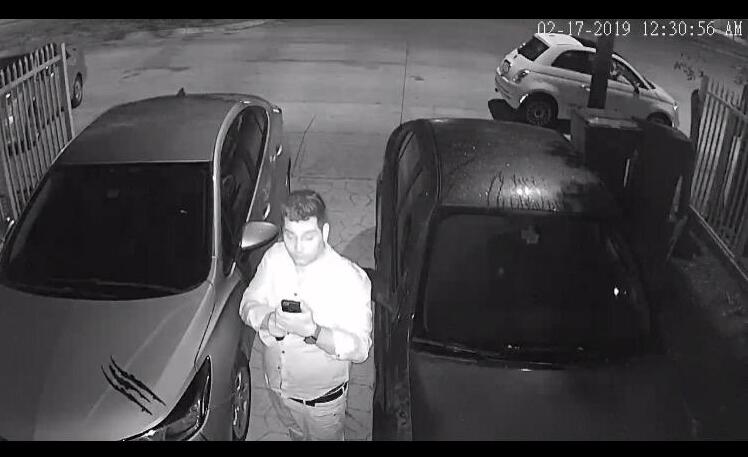
Once you have connected your Zmodo camera, it will be able to send alerts when motion is detected and can record footage of the event. You can also use the mobile app to view live video feeds from your cameras on the go.
So, let’s find out how to set up a Zmodo camera on your mobile device in detail.
What Are Zmodo Cameras?
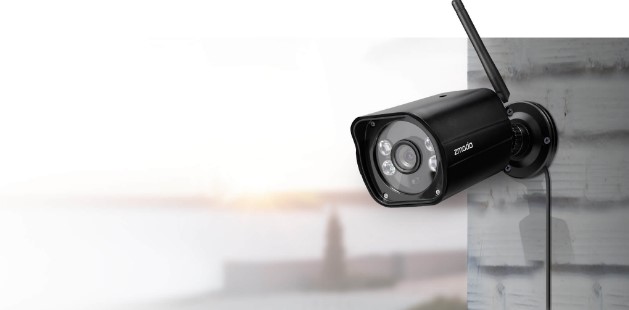
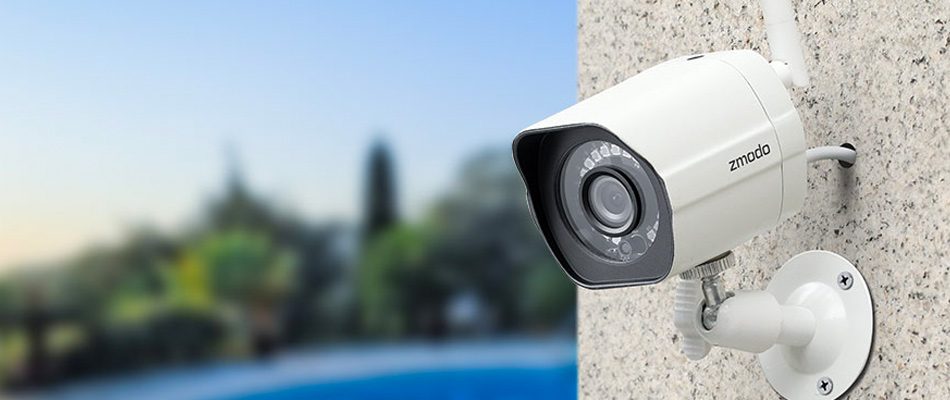
Security cameras are nothing new to world surveillance and Zmodo is one of the leading ones in the market. Most of their cameras are perfect for outdoor use, however, they have some special cameras such as the 360 cameras that capture surroundings in almost all directions.
These surveillance cams work with any existing Wi-Fi network, so there’s no need to buy new equipment or install any additional hardware.
The cameras themselves are incredibly durable and reliable, which means they’ll stand up to abuse without frequent repairs or replacements. They’re also weatherproof for outdoor use if you want to mount them outside your home.
Zmodo Cameras provide a great deal of flexibility, making them an ideal choice for home, outdoor, and office. In addition, they are easy to set up and use, so you can get up and running with your new camera system in no time at all.
Why Choose Zmodo Cameras Over Other Camera Brands?
The primary function of Zmodo Cameras is that they keep your home safe and secure. These can be used to monitor your children and pets and alert you when someone enters your home. You can also ensure that everything is okay with the elderly or disabled individuals remotely from your office desk.
Let’s take a quick glimpse of what sets Zmodo apart from its competitor, and why you should care.
Multiple Plans to Choose From
Zmodo offers a free basic plan that can record up to 12 hours of surveillance footage. However, I suggest you take their pre-paid plans as you’ll get access to their cloud storage along with so many other cool features.
Wireless Installation
All their home and outdoor cameras can be controlled remotely. Besides, you don’t need any cabling to store the video footage if you enable cloud service.
Higher Video Resolution
Almost all their security cameras support 1080p video resolution. So the clips of your children or pets growing up are actually worth saving as fond memories.
Zmodo App for Android and iOS
Zmodo offers a user-friendly app for both Android and iOS. The app makes remote access a lot easier for you as you can monitor live recordings from your office desk.
AI-Enabled Object Detection
This is another unique feature Zmodo offers its clients. You can now filter out clips with enough motion going on the screen instead of viewing through hours of recordings.
Video Editor and Time Lapse Feature
The app comes with a basic video editor for trimming video length and an in-app time lapse feature. Want to share a clip with family or friends? Now you can do it directly from the app as well.
Motion Alert System
The smart motion alert helps detect movement, even during the night. This feature will alert you if someone’s at the door, or any porch pirate is stealing your amazon package.
Others
Other notable Zmodo features include night vision, waterproof design, and 360-view for some devices. The cameras come at a huge price range and Zmodo doesn’t skimp on customer support or warranty either.
How To Setup Any Zmodo Camera By Yourself
You can set up a Zmodo camera either with a wired connection or wireless. I’ll explain the wireless connectivity as this is what most users prefer and it is the easiest way as well.
How to Set Up Zmodo Camera Using Zink
Step-1: Install the App
Before you set up Zink, you must download the ‘Zmodo’ app from the google play store for android users or the Apple app store for iPhone users. Once downloaded, install the app on your device and register your free Zmodo account.
You’ll need to use an email or phone number to create the free account. If you have signed into the app before on another device, you can just log into your account to continue.
Step-2: Launch the App
Once you launch the app, you will be redirected to a page on the screen where you get to click the “+” icon at the top of the page. This will lead you to the Zink setup option to choose from.
In some cases (especially if you are linking a Doorbell or Torch Pro), you must have the full installation guide before product configuration; therefore, it is necessary to know the least requirement for the product you intend to set up.
Step-3: Start the Setup Process
Now that you are logged into your Zmodo account, you will be redirected to the device list page, where you get to add a new device.
Once you click on the add device icon “+” in the upper right corner of the page, you will be able to choose the “Zink” setup.
In some cases, you may have to choose the “Normal” setup option if you do not have a beam.
Step-4: Connect the phone to a wireless signal
After adding a new device, you will get a prompt to connect to your device’s Wi-Fi signal.
Choose “tap to select Wi-Fi” and you will be able to browse through your smartphone’s Wi-Fi settings and choose the Wi-Fi to connect your device to. For example, if you are connecting a beam, the SSID known as “AP_ZMD” is a good option, while the “ZMD_SAP” SSID is preferred for other Zink wireless trusted devices.
Step-5: Enter Wi-Fi data into matching fields
The Wi-Fi data required to complete set up are the SSID and password, and you will need to enter the correct data for the preferred network you choose to connect your device to.
Most importantly, you will require a password-protected WI-Fi (usually a 2.4GHz WPA/WPA2), and your SSID should not be hidden nor have spaces in between. For instance, use “My Password” instead of “**********.
You can configure or personalize your SSID by accessing the router settings on your device, after which Zink will find and connect automatically to your device.
While setting up your connectivity, you may get an app prompt to connect to a wireless network; at the prompt, choose “Tap here to select Wi-Fi” and connect your phone to your Wi-Fi network.
Once you are connected, you will be redirected to the Zmodo app page until the device connection is completed.
Step-6: Name your device
As soon as the Zmodo camera is successfully connected to your device, you will get another prompt to continue with the device configuration by choosing a device name and setting your time zone.
Again, choose a name you can easily remember, and make sure you set a unique password that you can easily remember but is difficult to guess by others for absolute security.
For visual learners, here’s a video guide on how to setup Zmodo Zink.
Read Also: How to Connect Camera to TV Using USB?
How to Set Up Zmodo Camera Using SmartLink
Before you begin setup, make sure you installed the camera as per the installation guide.
Once this step has been done, you can then connect your phone (IOS or android) to the Wi-Fi network you have chosen to link with your Zmodo wireless device. Please note that you need 2.4GHz or more for this setup to work.
Step-1: Install the App & Create Account
Depending on your smartphone type, download the Zmodo and open it to register a free Zmodo account. You should create a new account with your email or phone number, but you can just sign in to your account if you are a registered user.
Step-2: Add a device
Once logged into your Zmodo account, you will be redirected to the Zmodo device list page, where you get to add a new device by clicking on the ‘+’ icon on the top right corner of the page.
In addition, the Zmodo wireless device has several in-app directions and pop-ups to guide you as you set up your wireless device for network configuration.
Step-3: Enter your wireless ID and data
Switch on your Zmodo device and select the number of devices you want to set up at once. Next, you will get a prompt to input the Wi-Fi password of the smartphone you are connected to, which will double as the network your Zmodo device will also be connected to.
Make sure you set up a unique password that you can remember easily. Then, wait for a few minutes for the Smartlink to discover and automatically connect your device to the Wi-Fi.
Step-4: Setup a device name
Once your SmartLink is successfully connected to your Zmodo device, you will be required to call your device for setting confirmation and also set the correct time zone.
After this, choose a preferred name, just like the Zink setup, and carefully choose a strong password for security. Once these steps are complete, your Zmodo wireless device is ready for use.
For visual learners, here’s a video guide on how to connect Zmodo Smartlink on your mobile device.
A Quick Setup Guide for Zmodo Cameras
Below are easy step-by-step processes for a quick setup of your Zmodo cameras.
- Begin by connecting your camera to a source of power (electricity)- plug the cable into a power source.
- Connect your camera to your Wi-Fi network using the Zmodo app.
- If you don’t have one already, download the Zmodo app from the app or play store, then create a Zmodo account.
- Once you launch the app on your smartphone, you will be redirected to the app home screen, where you get to click a tiny “+” icon displayed at the top right corner of the screen. By clicking the “+” sign, a menu bar will pop up where you can choose the ‘Zink’ option.
- Once you find Zink, click on it.
- You will be asked how many cameras you wish to connect to the device by clicking on Zink. If you are connecting one device, choose one and then click the small blue check icon.
- Next, you will be asked to open the Wi-Fi setting on your phone and connect your camera to the available Wi-Fi network.
- Clicking the small blue icon will open your Wi-Fi settings, where you’d find your camera Wi-Fi as “ZMD_SAP.”
- Once you confirm the SSID, click on it to connect your camera to Wi-Fi, after which you can return to the Zmodo App.
- On the Zmodo page, you’d be asked to input your data (SSID and password). Once entered, click the blue checkmark at the bottom of the page to save the changes.
- Next, you’d be redirected to your Wi-Fi settings and prompted to reconnect with your camera Wi-Fi. You can choose your home or work network and connect to it.
- Return to the Zmodo home page and wait while the app search for the camera to enable a stable Wi-Fi connection. This may take some minutes to set up.
- As soon as the connection is made, you will get a prompt to name your camera and set a password for your camera. Choose any preferred name and set a unique password you can always remember.
- Click done once you have set a password, and also click the tiny blue checkmark at the bottom of the page to save changes made.
- Your Zmodo camera is ready for use.
(Please note that if the connection process takes too long, it might be that the network is unstable or the device is far from the Wi-Fi router. It would help to move your device a little closer to the network source you are connected to.)
Zmodo Camera Setup Issues And Their Solutions
The Zmodo camera is a great product, but it does have its limitations. Here are some issues that you might experience with your Zmodo camera:
1. The Camera Won’t Connect To Wifi
Connecting your camera to the internet is a fairly simple process that should only take a few minutes. If your camera is not connecting to wifi, it could be caused by interference or simply not registering on your home network.
You can sort the issue by finding the main reason for not connecting. For example, if you do not have the Wi-Fi visible, you might have to make it visible. Also, you should check the internet connection.
2. The Camera Doesn’t Turn On
Sometimes the camera does not turn on. Here are some things to check before doing a hard reset.
- Check that the batteries are properly inserted and have not leaked into each other or around the contact points. If it shows a sign of damage, you need to replace it with new batteries.
- Turn your device off and then on again as this could help to solve the issue
3. Zmodo Cameras Won’t Connect To The App
One of the problems you will face is that the Zmodo cameras won’t connect to the app, and you want to access your camera. It may be a setting within your router or internet provider. Sometimes you need to go into your router settings, do a port-forwarding, or maybe even change the way your internet works.
You can solve the issue by checking the app to see if it needs an update. If you have to update it, you should do that; most importantly, ensure that the internet connection is strong, and try connecting again.
Note: If, after all efforts, you still can’t connect your camera, then you should contact support at [email protected].
Conclusion
Zmodo offers some of the best security cameras available in the market. It has many features that make it a good choice for users. However, the major challenge with people has been with the Zmodo camera setup, and we have this post to address that.
With the information on this page, you get to know the right way to solve any setup issue to get your camera working without delay.