
You pull an old lens out of the bag after a few months in storage, hold it up to the light, and notice something that wasn’t there before — faint, thread-like marks scattered across the glass, almost like a tiny spiderweb. That’s not dust, and it won’t wipe off with a lens cloth. It’s fungus, and if you’ve just spotted it, you’re probably wondering how to remove fungus from a camera lens before it spreads any further.
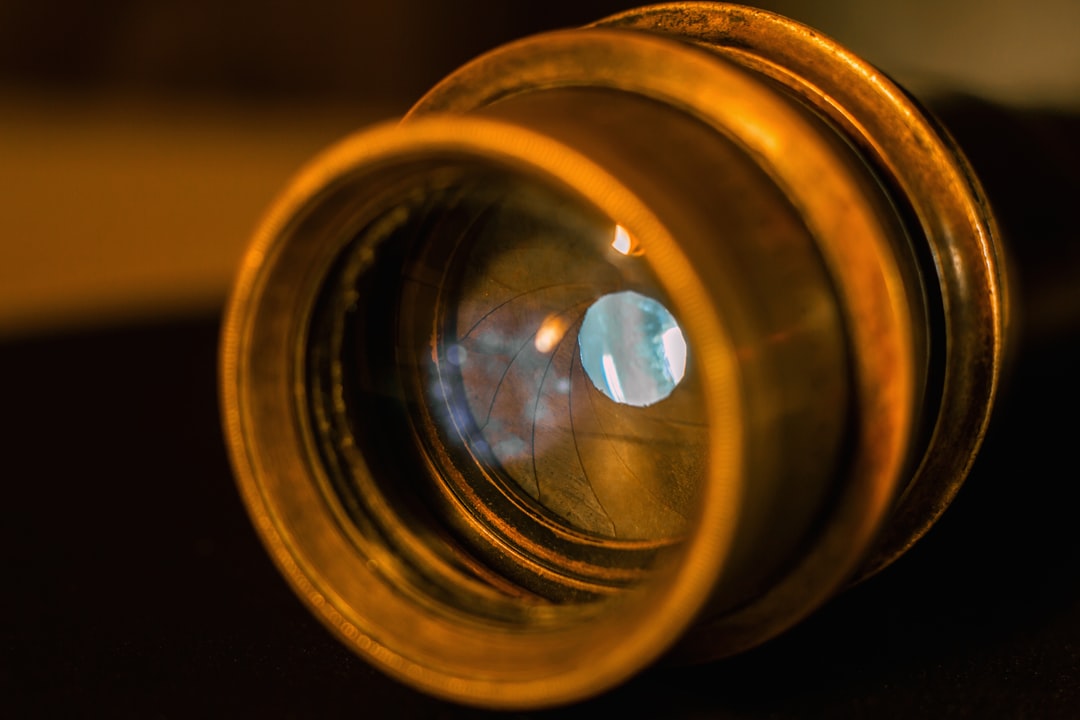
Light, surface-level fungus can sometimes be cleaned off at home with the right method and a bit of patience. Fungus that’s gotten deep into the lens, or spread between internal elements, is a job for a professional cleaning instead — trying to force that apart yourself is how a $20 cleaning turns into a $200 repair bill.
In this guide, you’ll learn what causes lens fungus in the first place, how to tell it apart from ordinary dust or smudges, which cleaning methods are safe to try yourself, and the storage habits that keep it from ever showing up again. Keep reading to find out more!
What Causes Fungus To Grow On A Camera Lens?
Camera lens fungus is a mold-like organism that grows from spores already floating in the air around us. Those spores are harmless on their own, but once they settle on a lens and find the right conditions, they take root on the glass and start spreading.
Humidity And Moisture
Fungus needs moisture to grow, which is why it shows up so much more often in humid climates or during rainy seasons. A lens that gets shot in the rain and packed away before it’s fully dry is an easy target.
Dark, Airtight Storage
Fungus prefers dark spaces, which makes a closed camera bag or a drawer the ideal environment for it. A lens that sits unused in the dark for months, especially somewhere warm and humid, is far more at risk than one that gets regular light and air.
Dust And Organic Residue
Dust doesn’t just scatter light in your photos — it also gives fungus spores something to feed on and cling to. Fingerprints and smudges left on the glass add to that, which is part of why touching the glass elements directly is worth avoiding.
Older Or Uncoated Lenses
Older lenses and budget lenses without modern protective coatings tend to be more vulnerable. That doesn’t mean newer, coated lenses are immune — it just means the risk is higher on gear that’s older or wasn’t built with weather sealing in mind.
How Do You Know If Your Lens Has Fungus?
The clearest way to check is to hold the lens up to a strong light source, like a flashlight, in a dark room and look through the glass elements from an angle. Fungus usually appears as thin, branching, web-like or thread-like marks inside the lens, sometimes as small white or grayish blotches.
In your photos, fungus can show up as a hazy or slightly foggy look across the frame, reduced contrast, softer focus than usual, or unexpected flare in bright light. Early on, the effect can be subtle enough that you notice the marks on the glass before you notice any change in your images at all.
How To Remove Fungus From A Camera Lens?
How you handle it depends entirely on how far the fungus has spread. Here are the options, roughly in order of how safe they are to try yourself.
1. Try Sunlight (UV) Exposure First
Direct sunlight contains UV light that can kill active fungal spores, which is why photographers often leave an affected lens in a sunny spot for a few hours as a first step. Keep in mind this kills the fungus but doesn’t remove it — it turns the growth into dust that still needs to be cleaned off afterward.
2. Clean Light, Exterior Fungus Yourself
If the marks are faint and sitting on the front or rear glass element only, not buried between internal elements, you can try cleaning it off:
- Work in a well-ventilated space and avoid getting any liquid near the lens mount or electronics.
- Dampen a clean microfiber cloth or cotton swab with a proper lens-cleaning solution.
- Wipe gently in small circular motions — don’t scrub, and don’t press hard.
- Follow up with a dry microfiber cloth to remove any streaks or residue.
3. Try Isopropyl Alcohol And Distilled Water For Faint Spots
A 1:1 mix of isopropyl alcohol and distilled water on a cotton swab is another option enthusiasts use for light, early-stage spots on an exterior element. Test on a small area first, and stop immediately if you notice any haze or damage to the lens coating.
4. Send It To A Professional For Internal Or Heavy Fungus
If the fungus is between internal elements, covers a large area, or you’re not confident taking the lens apart, it’s not worth the risk of doing it yourself. A professional repair service can disassemble the lens safely, clean every affected element, and check for any damage the fungus may have already caused. Most manufacturer warranties don’t cover fungus damage, so budget for this as an out-of-pocket repair.
Some Tips To Keep Fungus From Coming Back
Removing fungus once is one thing — keeping it from coming back is the part that actually saves your lenses long-term.
Store Lenses In A Dry, Bright Place
Somewhere with airflow and occasional light beats a dark, closed drawer every time. If you can, avoid basements or anywhere that tends to feel damp.
Use Silica Gel Packets Or A Dry Cabinet
Silica gel packets in your camera bag or storage case help absorb excess moisture, and they’re cheap enough to replace regularly. If you live somewhere humid and shoot often, a dedicated dry cabinet is worth the investment.
Avoid Long-Term Storage In Airtight Bags
A sealed bag traps whatever moisture was already on the lens when you packed it away. Let gear breathe a little, especially before putting it away for an extended period.
Attach A Lens Hood And UV Filter
Beyond their usual job of controlling flare and protecting the front element from knocks, these add one more physical barrier between the glass and airborne dust and moisture.
Dry Your Gear Immediately After Humid Or Wet Shoots
Don’t pack a lens away straight after shooting in rain, mist, or heavy humidity. Let it air dry completely first, and wipe down the exterior before it goes back in the bag.
Conclusion
So, how do you remove fungus from a camera lens? For light, exterior spots, sunlight exposure and a careful cleaning with the right solution can often handle it. For anything internal or widespread, a professional cleaning is the safer call, even though it costs more than doing it yourself.
Either way, prevention is what actually protects your gear over time. A little attention to how and where you store your lenses now can save you a repair bill, or a lens, later on.