
Buying a trail camera is not enough if you don’t know how to use it. First, you need to program it the right way to get the best results. So, do you need an expert or is it something you can DIY? Well, if you don’t know how to program a trail camera yet, following a few simple steps will get you there.
Setting up and programming a trail camera isn’t complicated. First, insert the batteries and the SD card, modify any unwanted configurations, and then, snap a few test photos to see if it’s working properly. Finally, you need to mount the camera in a suitable spot.
This article will show you how to properly set up and configure your trail camera in some simple steps. Also, I’ll discuss some common features game cameras offers as well as programming mistakes that you should avoid. So, keep reading to learn more.
Key Points:
- A trail camera operates by hibernating almost the entire time, except for the motion detection device.
- The motion and IR sensor only triggers when there’s enough movement in proximity or a different heat source other than regular.
- The camera system only wakes the sensor is triggered and takes multiple snaps within seconds.
- A trail camera comprises amazing features that make it very versatile for remote access and control.
- Storage, battery, location, and smell—are some mistakes people neglect, which can lead to permanent damage.
What Is A Trail Camera & How Does It Work?
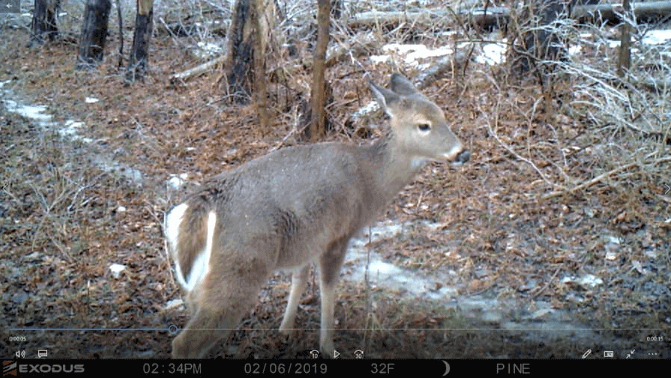
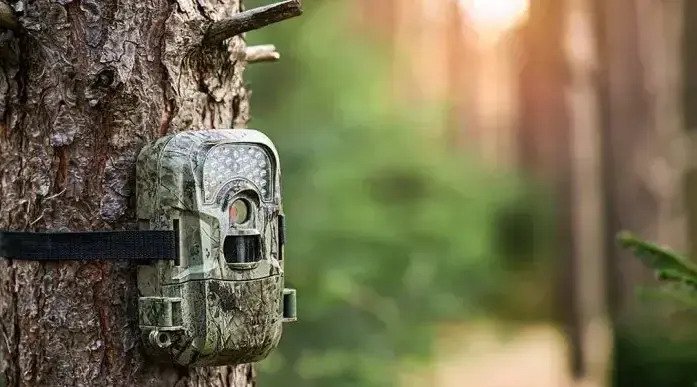
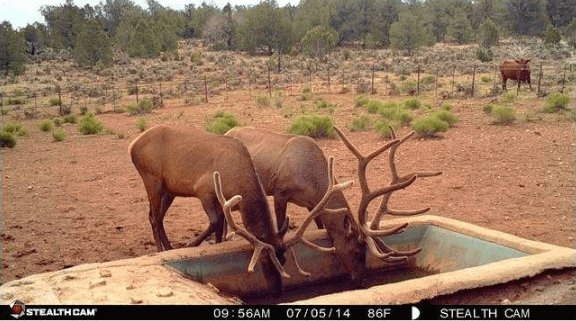
Trail cameras are unique outdoor cameras designed to capture video and picture content at a specific time. Usually, you mount a trail camera on a tree, and it goes into sleep mode, leaving only its motion detection sensors powered on. Once an animal or person moves or comes around the location of the camera’s landscape, the sensors will trigger every other component and capture the scene.
A trial camera functions in a near electronic sleeping state. The only part that is turned on is its motion sensor, which is most often a PIR (Passive Infrared) detector. This detector is the same one available in burglar alarms. Once the PIR senses motion, it activates other parts of the camera and spurs up the shutter to take photos.
The camera can take a single or several pictures or even videos depending on how you set it up. After that, it goes back to sleep mode, keeping on the sensor active.
Most modern trail cameras are designed to send image and video feedback to your computer or smartphone in real-time. And this is often possible through a wireless connection such as the cellular network. You won’t have to pay any extra subscription fees, nor set up accessories for the network to work. These cameras are mostly plug-n-play, and I’ll discuss how to program a trail camera shortly.
Are Trail Cameras Worth It – Features You Need To Look Out For!
Trails cameras are definitely worth it if you want to take pictures of wildlife in their natural habitat or track games. Besides, they are often used to track and estimate the population of endangered species in a specific territory. But the precondition to getting these benefits is to get the best trail camera first.
So, below I’ll list 10 features you need to look out for while buying a trail camera for the first time.
1. Excellent Motion or IR Sensor
While some trail cameras are compatible with external motion-sensing gadgets, the majority use PIRs (Passive Infrared lights). A PIR senses the average changes in the heated landscape in front of the camera. It doesn’t just sense the specific sources of the heat, as a thermal imager will do, but the temperature changes happen whenever an animal or bird enters the proximity.
Conversely, PIRs are sensitive to cold-temperature objects passing warm backgrounds. Simply put, the PIR effectively captures pictures and footage by evaluating animal temperatures within a background, whether warm or cold-blooded.
Additionally, much larger animals moving at a farther distance can as well be sensed as small animals passing close to the trail camera. This will occur if the camera detects both animals to be moving with an equal temperature change from the background. However, if an animal is very large but motionless, it won’t be sensed.
Notably, the faster an object is before the PIR, the higher its rate of temperature change and the more possible the camera will be triggered. Also, you should note that various models and brands incorporate different PIR sensitivity. So, it won’t be the same measurement and number of PIR for each distinct brand or model.
2. The Trigger Time
The trigger time of a trail camera is evaluated as the time between the detection of movement and a picture captured. This is a unique feature of the brand and model of the trail camera and can be as slow as 1s plus or as fast as 0.1s.
The trigger time basically dictates whether a moving animal will be captured or not. So, manufacturers often flaunt the trigger time of their trail cameras as one of their selling points.
Also, the trigger time is much faster for capturing pictures than for recording videos, as it takes more time to awake the video capturing systems. Thus, if you want to capture videos real-quick with trail cameras, then select the ones with superfast time triggers.
3. Lens
Most often, you’d find trail cams with fixed-focal-length and thus FOV (field of view) lens, implying a static near-range of focus. To capture a lot in the picture, consider a wide-angle lens. However, this causes the subjects in the image (animals or insects) to appear a lot smaller on the picture.
To find an ideal lens for your various needs, compare different wildlife camera models and manufacturers.
4. Recovery Time
This means the time required for the trail camera to capture an image or video and prepare to capture another picture/video.
The most advanced trail cameras don’t have any recovery time, but rather capture several pictures at once. However, many users overlook this feature. For instance, a hare is being chased by another, and the camera is only able to capture the hare running but not the other animal. This is most likely because of its recovery time.
Keep in mind that a trail camera with a slow recovery time for capturing still pictures will perform worse with videos.
5. Memory Card
Another unique feature of a trail camera is its storage. While buying, I advise you to find the maximum storage capacity of a given camera within your budget. This is important because there are various factors in the camera settings that affect the camera storage. Also, take note of SD card Class; how fast images/videos are saved and read from the storage card. There are presently 5 classes of SD cards such as 2, 4, 6, 8, and 10.
Classes with higher levels provide more efficient responses but they cost more. However, selecting a very love class will negatively affect your camera’s trigger and recovery time. Besides, this can inhibit your camera from functioning properly. The brand manufacturers may however recommend the class you should choose.
6. Image Quality
This includes picture and video quality, and it describes the display resolution of an image or video captured. Resolution is the number of pixels captured in a virtual picture or video and is measured in MP (Megapixels). A megapixel (MP) is equivalent to one million pixels.
Cameras that encompass higher Megapixels have higher picture qualities. For instance, a camera can have a 5MP resolution, and that implies 5 million pixels in a picture or captured video.
Now, while most trail cameras have 5MP or higher resolutions, you should ensure to avoid interpolated values. Trail cameras with interpolated values have meager-quality resolutions.
7. Flashlights
Typically, a trail camera’s illuminator or flash units are factory-designed. Thus, since the flash greatly determines the areas of application of the camera, you need to be careful and critical of the model you choose. Notably, there are three kinds of cameras—white, low-glow flash, and no-glow flash.
White light is the normal camera light used in capturing color images/videos at night. Infrared flashes (low-glow and no-glow flashes) create black and white pictures and are usually used at night. Notably, infrared rays are at a boundary a little above visible light. Also, infrared light doesn’t disturb the eye and is most times emitted as low-glow red lights visible to both humans and animals.
8. Image Quality Settings
Trail cameras come with various settings. These settings include single still images, image bursts, and videos. Notably, most modern cameras now enable you to capture a set of up to 10 photos, having nearly no-recovery time. Thus, you might need to consider getting a camera that effectively provides a better resolution of bursts of stills. This might be a great alternative to the regular video/still combination.
9. Power Supply
Typically, trail cameras use a set of AA batteries. These batteries are usually lithium, rechargeable, or alkaline batteries. However, if you are seeking a camera that lasts the longest, then you should go for lithium batteries.
Alkaline batteries start as effective, but hastily decrease when their batteries decrease below 50%. Rechargeable batteries, on the other hand, are effective but provide insufficient voltage over a while, to sustain the trailing camera to its optimum levels.
10. Connectivity
Asides from capturing multimedia, the trail camera should be able to send the data directly to you using Wi-Fi or 3G/4G transmitters. This way, you can view and download the photos or videos from your home’s comfort. However, remote access features like Wi-Fi or cellular network may cost some extra dollars.
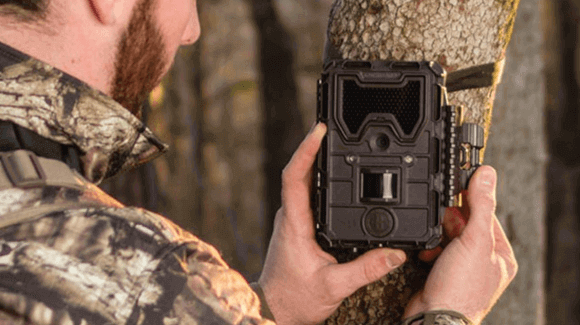
How To Program A Trail Camera – The Set Up & Installation
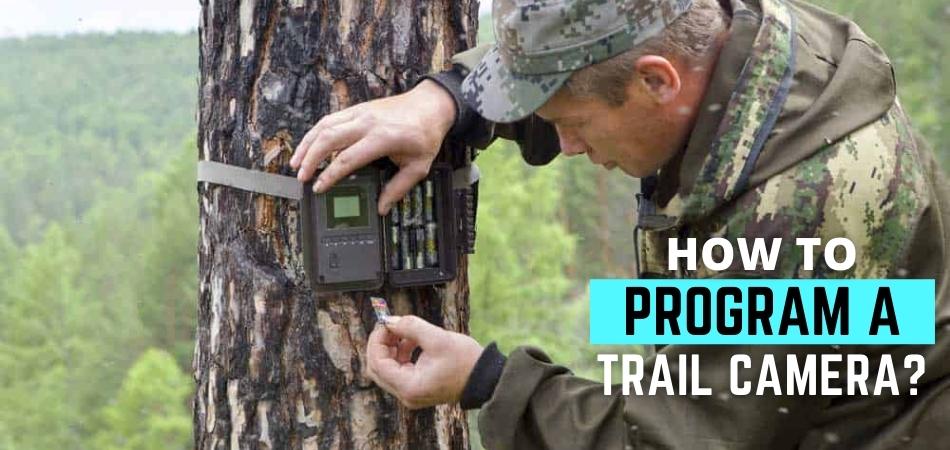
Here is the foolproof step-by-step guide on how you can set up and mount a trail camera in less than 10 minutes!
1. Check the Batteries
Power matters so much when it comes to using a trail camera. This is because, capturing, especially in the wild, comes with lots of uncertainties. After all, you don’t want your camera switching off at the brink of a rare discovery, right?
As we’ve established earlier, there are three types of trail camera batteries—lithium, rechargeable, and alkaline batteries. We recommend you choose a trail camera that incorporates a lithium battery, as that battery lasts the most as is most effective in all conditions.
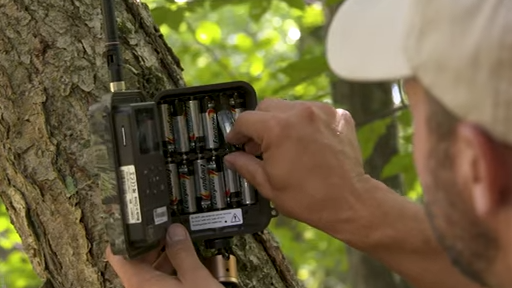
Now, insert the batteries into the designated compartment and move on to the next step.
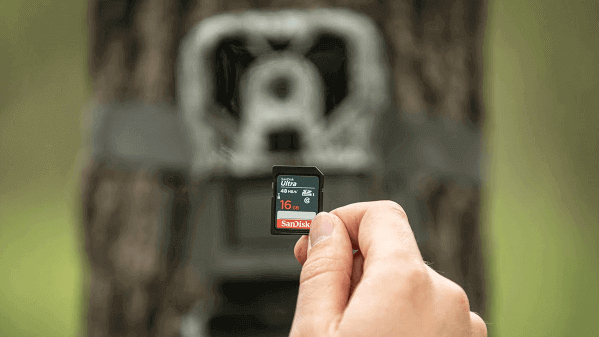
2. Input the SD Card
A trial camera without a storage card is no use because the SD stores all files and footage captured. Therefore, you want to have an SD card that is large enough to capture and store your files. We have also discussed the classes of SD cards so, ensure to get a great quality storage card for your camera.
Insert the SD card and turn ON your camera. If it fails to start, check the batteries again to confirm you have put them the right way, and then try again.
3. Set Up the Camera
Now, it’s time to configure your trail camera. There will be three major things on your LCD:
- Burse Mode
- Video Mode
- Time-Lapse Mode
Burst mode occurs when your camera is going to capture a sequence of still pictures at once. This is very ideal for objects that are moving very fast. Moreover, also note that pictures with higher resolutions are most times larger than those which are of lesser quality. So, if you hope to keep this camera out for months, then reduce the resolution of the picture.
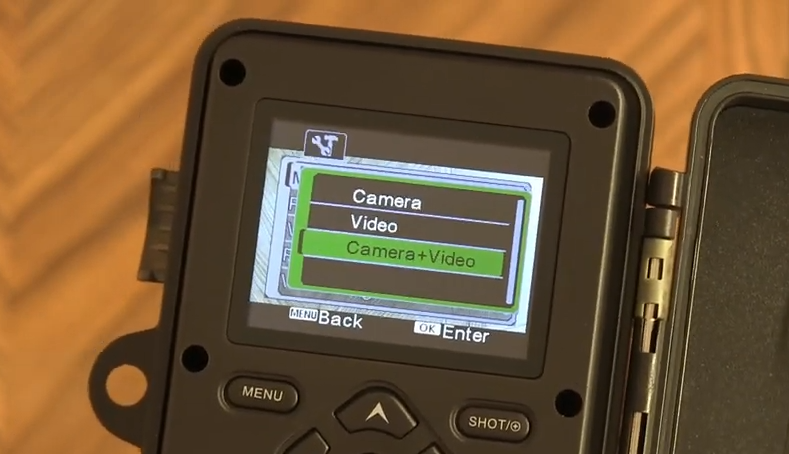
The video mode does exactly what it sounds like. Also, you’ll need to choose a lesser resolution to conserve storage space. Then, we have a time-lapse mode, which means that you dictate the length you want your camera to function within. After setting that, you then set the number of times you want the camera to be triggered.
4. Testing
Once you’re done with that, you’ve got to try out the camera and the footage you’ve captured. Keep your camera on a table, chair, or somewhere high enough to capture you, then walk right in front of the camera for some time. After that, check the pictures if they’re good enough and if the camera captured as triggered.
To do this, remove the SD card and put it into your computer to check it out. If the captured images are clear enough, then you can proceed to the next steps.
5. Find a Perfect Location
Not sure where to mount the trail camera? To locate an ideal spot for your trail camera, follow the tips below-
- Keep your camera facing North to keep off the sunlight from interrupting the photos.
- It should be at least 30 (preferably 48) inches above the ground.
- Keep a clear line of sight, meaning remove any tree branches or grass from the proximity.
- Locate a tough tree to mount your camera.
- Set up the camera near water resources where animals and birds gather in large numbers.
Common Mistakes To Avoid While Setting Up A Trail Camera
The most common mistakes related to trail cameras are numerous. Some of them include not thinking about the weather, neglecting storage capacity, not hiding your trail camera well enough, and not covering up the smell. Let’s see how these affect the success of your camera.
1. Weather
Trail cams are water-resistant and durable. Nevertheless, these cameras placed in freezing regions are more likely to drain much quicker than those in cool temperatures.
So, if you don’t want to damage your investment, make sure you buy a camera that can withstand cold temperatures or build enough insulation around it. But note that, rising river banks and drifting snows can impact your camera’s image quality if you neglect these factors.
2. Memory
The memory card should be sufficient to contain multiple picture bursts over several long hours. A memory card of a smaller capacity will end up giving you a filled-up memory card in a short while.
3. Smell
One other important thing to note is that animals have an acute sense of smell. Also, if you don’t clean up your camera properly after set up, it’d hold your smell. So, ensure to handle your camera with scent-resistant gloves and clean it properly to avoid alarming the wildlife.
4. Hiding the Trailing Camera too well
Hiding your camera is majorly for two important reasons: to get the most ideal shot and avoid theft. But try not to hide it “too much”.
If you do so, it can negatively affect the footage by not being able to view a wide area and can lead to a difficult time finding out your camera via GPS.
What Is The Easiest Trail Camera To Set Up?
what good is a setup guide if you don’t get a good recommendation of industry-standard products? Well, that’s why I enlisted two trail cameras super easy to install. The best part- you can set up and mount these cameras yourself. So, let’s have a look.
Muddy Pro Cam 14
This is a series game camera that provides one of the most amazing accessibility in the market today. It is very easy and beginner-friendly. Also, the Muddy Pro Cam 14 is super affordable. It incorporates a .7 seconds trigger time and motion detection of about 50 inches.
This amazing trail can also come with a 14MP camera and 720p video resolution. However, you won’t get any time-lapse mode with this one. So, it’s a decent camera for tracking wildlife, but you’ll need to look elsewhere if high-quality pictures is the main priority.
Exodus Trek
Here comes an advanced trail camera that integrates several exciting features for users to work with. It introduces a .7s trigger time and 55 inches motion detection. Furthermore, it also uses a no-glow flash, offering you all you need in performance.
Exodus Trek also uses a 12MP resolution and 1080p video resolution, giving you clear imaging all day and night. So, if you prefer high-resolution pictures with minimal setup hassle, look no further.
Conclusion
To program a trail camera- first, ensure you got the batteries right, get a memory card, configure the settings, test the camera, and then find the location to mount your camera. I also listed two trail cameras best for easy setup, however, I suggest you spent some time looking for the one best suitable for your specific needs. Hopefully, this will be a piece of cake as I also explained what features you need to look for while buying a new trail camera.
Just give it another read and you’re ready to go!