
You take a photo indoors and it comes out looking distinctly orange or yellow, even though the room looked perfectly normal to your eyes. Or you shoot outside on an overcast day and everything has a faint blue tint. Your eyes correct for this automatically without you noticing. Your camera doesn’t, unless you tell it to, which is exactly what white balance is for.
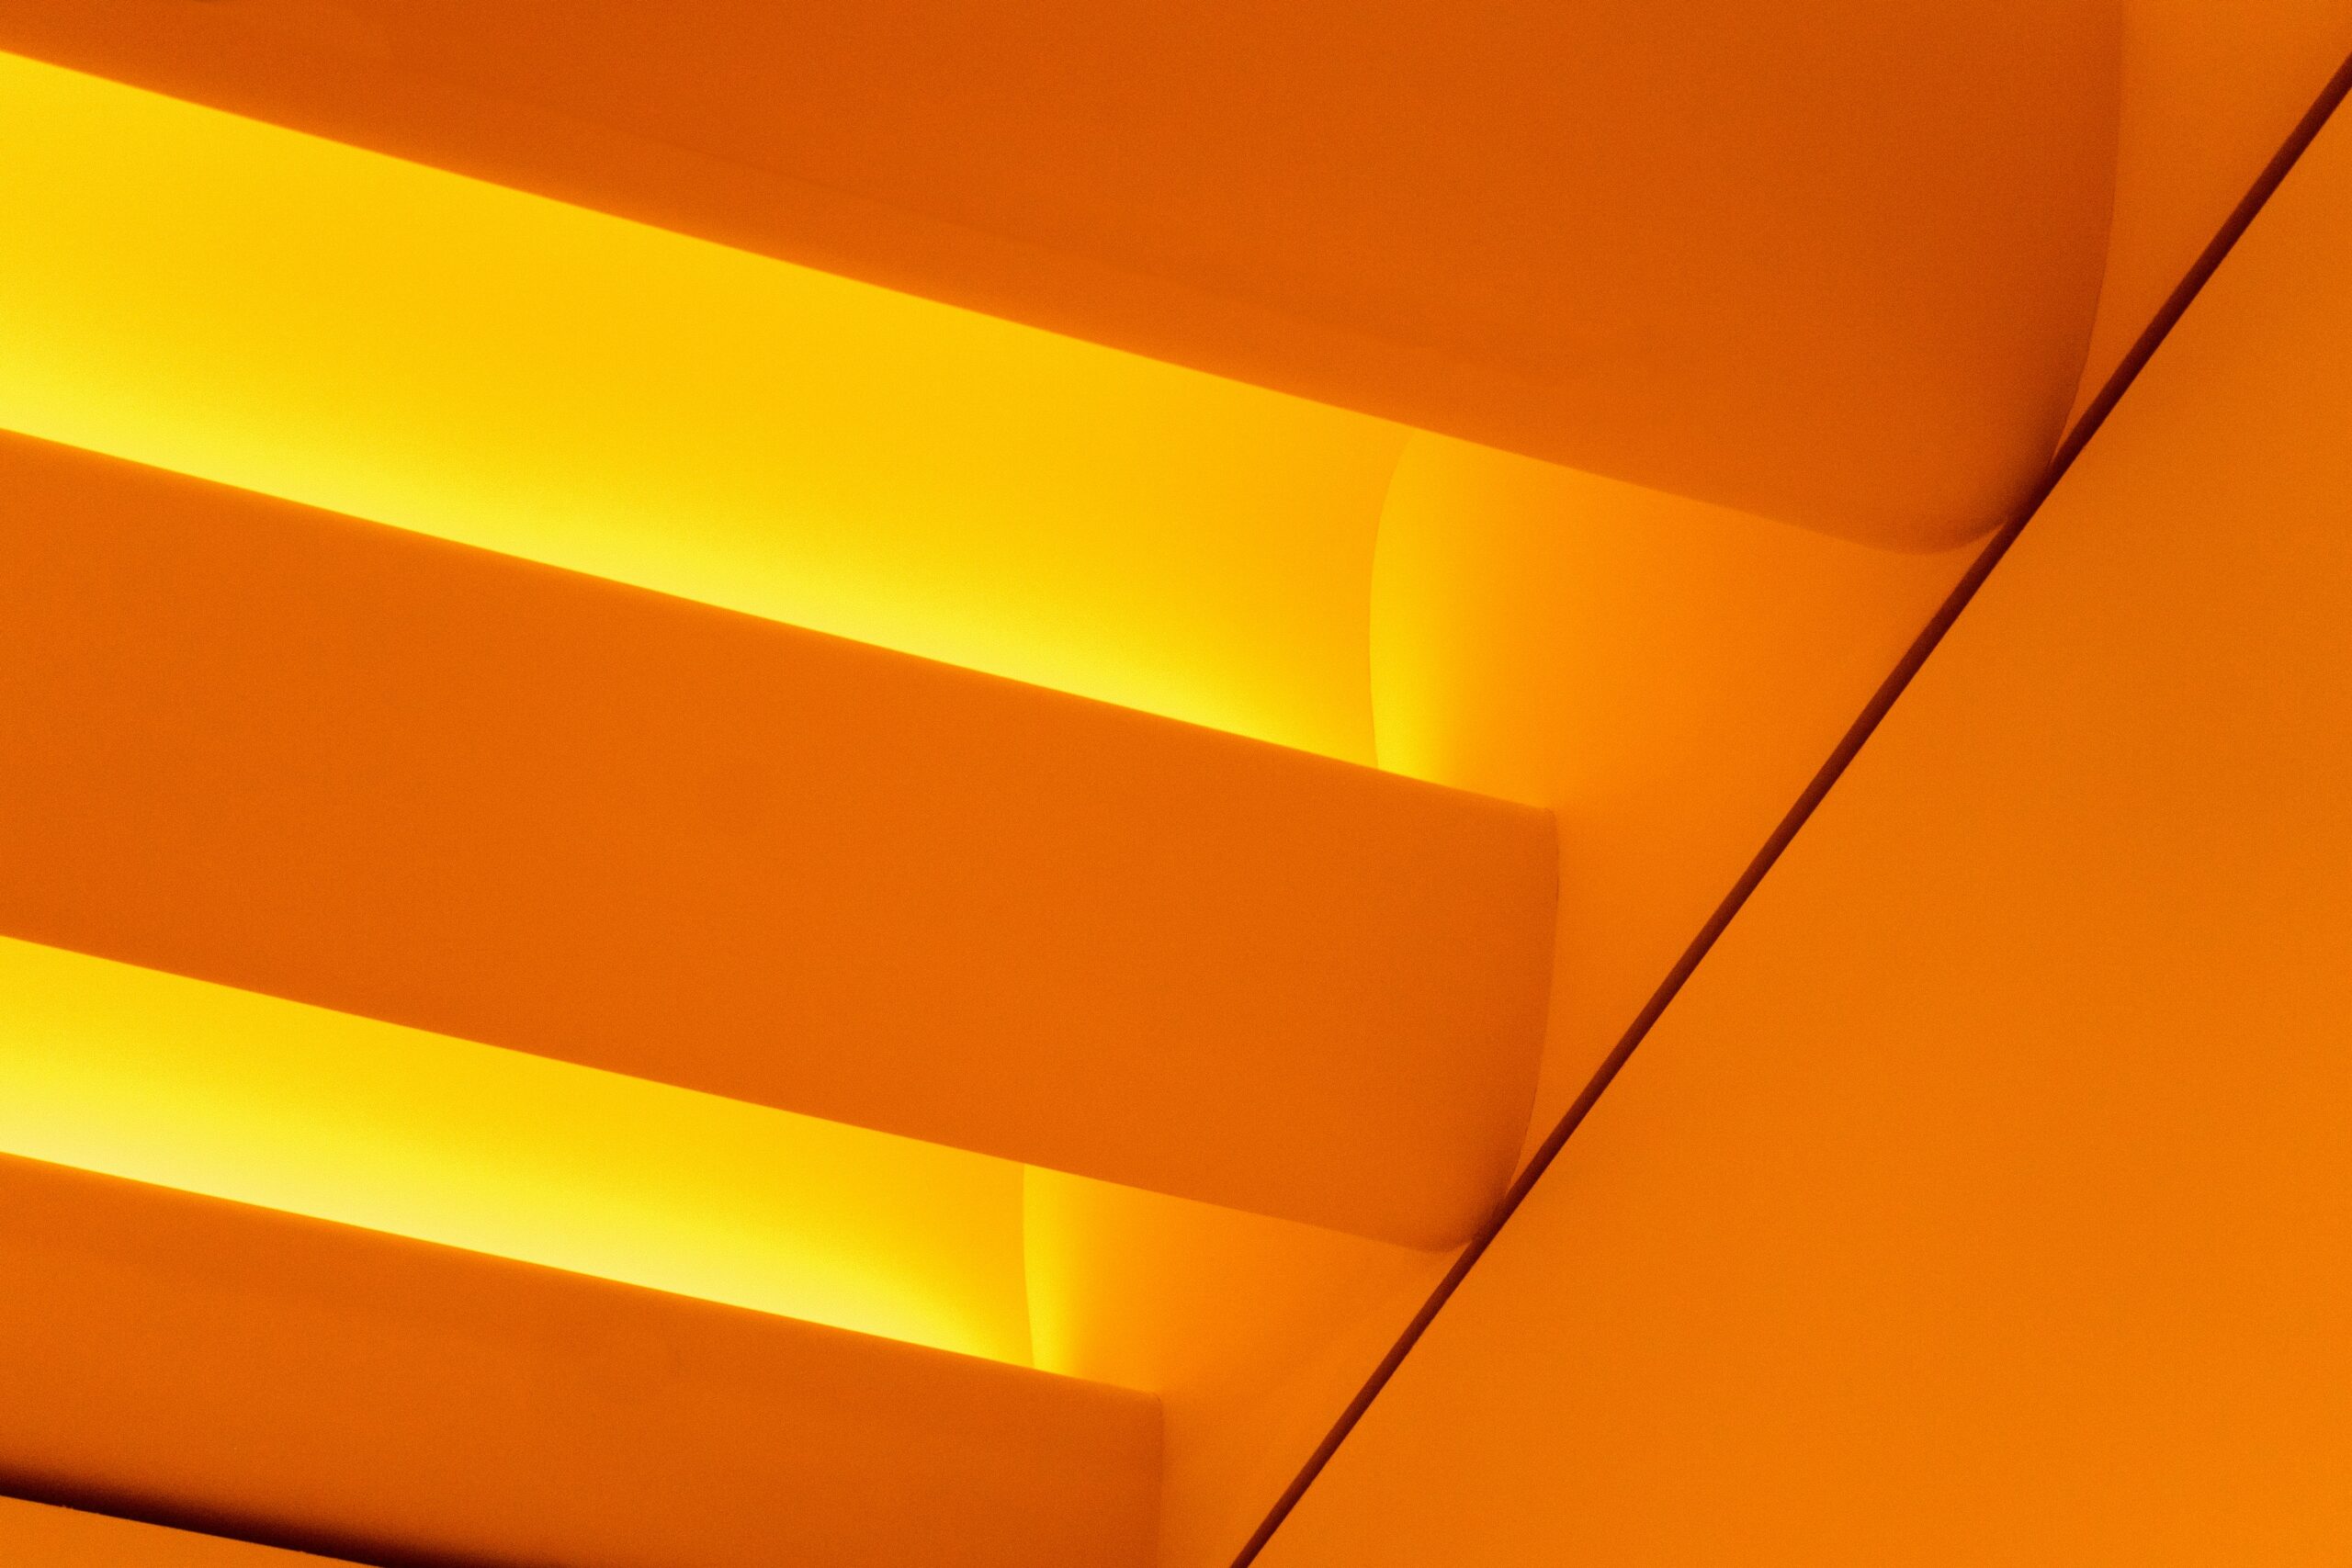
Different light sources have different color temperatures, measured on the Kelvin scale, and your camera needs to know roughly where the light you’re shooting under falls on that scale to render white as actually white. Get it wrong and everything shifts toward orange, blue, or green depending on the light.
Below, you’ll find what white balance actually measures, the Kelvin values behind each preset, how to tell when it’s off, and how to fix it both in-camera and afterward in editing. Keep reading to find out more!
What Is White Balance, Actually?
Light sources aren’t all the same color, even though our eyes and brain mostly hide that from us. A candle or an incandescent bulb puts out warm, orange-leaning light. Overcast skies and open shade put out cooler, blue-leaning light. Your eyes adjust for this in real time, so a white shirt looks white to you under either one. A camera sensor just records whatever color the light actually is, so without correction that same white shirt comes out looking orange indoors or blue in the shade.
White balance is the setting that tells your camera what color temperature the light actually is, so it can shift the colors back to neutral. Set correctly, whites look white and skin tones look natural regardless of what kind of light you’re shooting under.
The White Balance Presets And What They’re For
| Preset | Approximate Kelvin | Best For |
|---|---|---|
| Tungsten / Incandescent | ~3200K | Warm indoor bulbs |
| Fluorescent | ~4000K | Office and fluorescent lighting |
| Daylight | ~5200K | Direct sunlight |
| Flash | ~5500K | Camera flash or speedlight |
| Cloudy | ~6000K | Overcast skies |
| Shade | ~7000K | Heavy open shade |
The pattern behind these numbers: warmer, more orange light sources get a lower Kelvin value, and cooler, more blue light sources get a higher one. Most cameras also let you dial in a specific Kelvin number directly instead of picking a preset, which is useful once you get a feel for how the scale behaves.

How To Tell Your White Balance Is Wrong
An orange or yellow color cast usually means the camera is set too cool for the light, like shooting under tungsten bulbs on the Daylight or Auto setting. A blue or cool cast usually means the opposite: shooting in shade or under cloudy skies while set to Daylight or Flash. A green tint is the classic sign of uncorrected fluorescent lighting. In all three cases, the fix is the same: match the setting to the actual light source.
How To Fix It
1. Match The Preset To Your Actual Light Source
This solves most cases. If you’re indoors under warm bulbs, switch to Tungsten instead of leaving it on Auto or Daylight. If you’re in the shade, switch to Shade or Cloudy rather than Daylight.
2. Set A Custom White Balance With A Gray Card
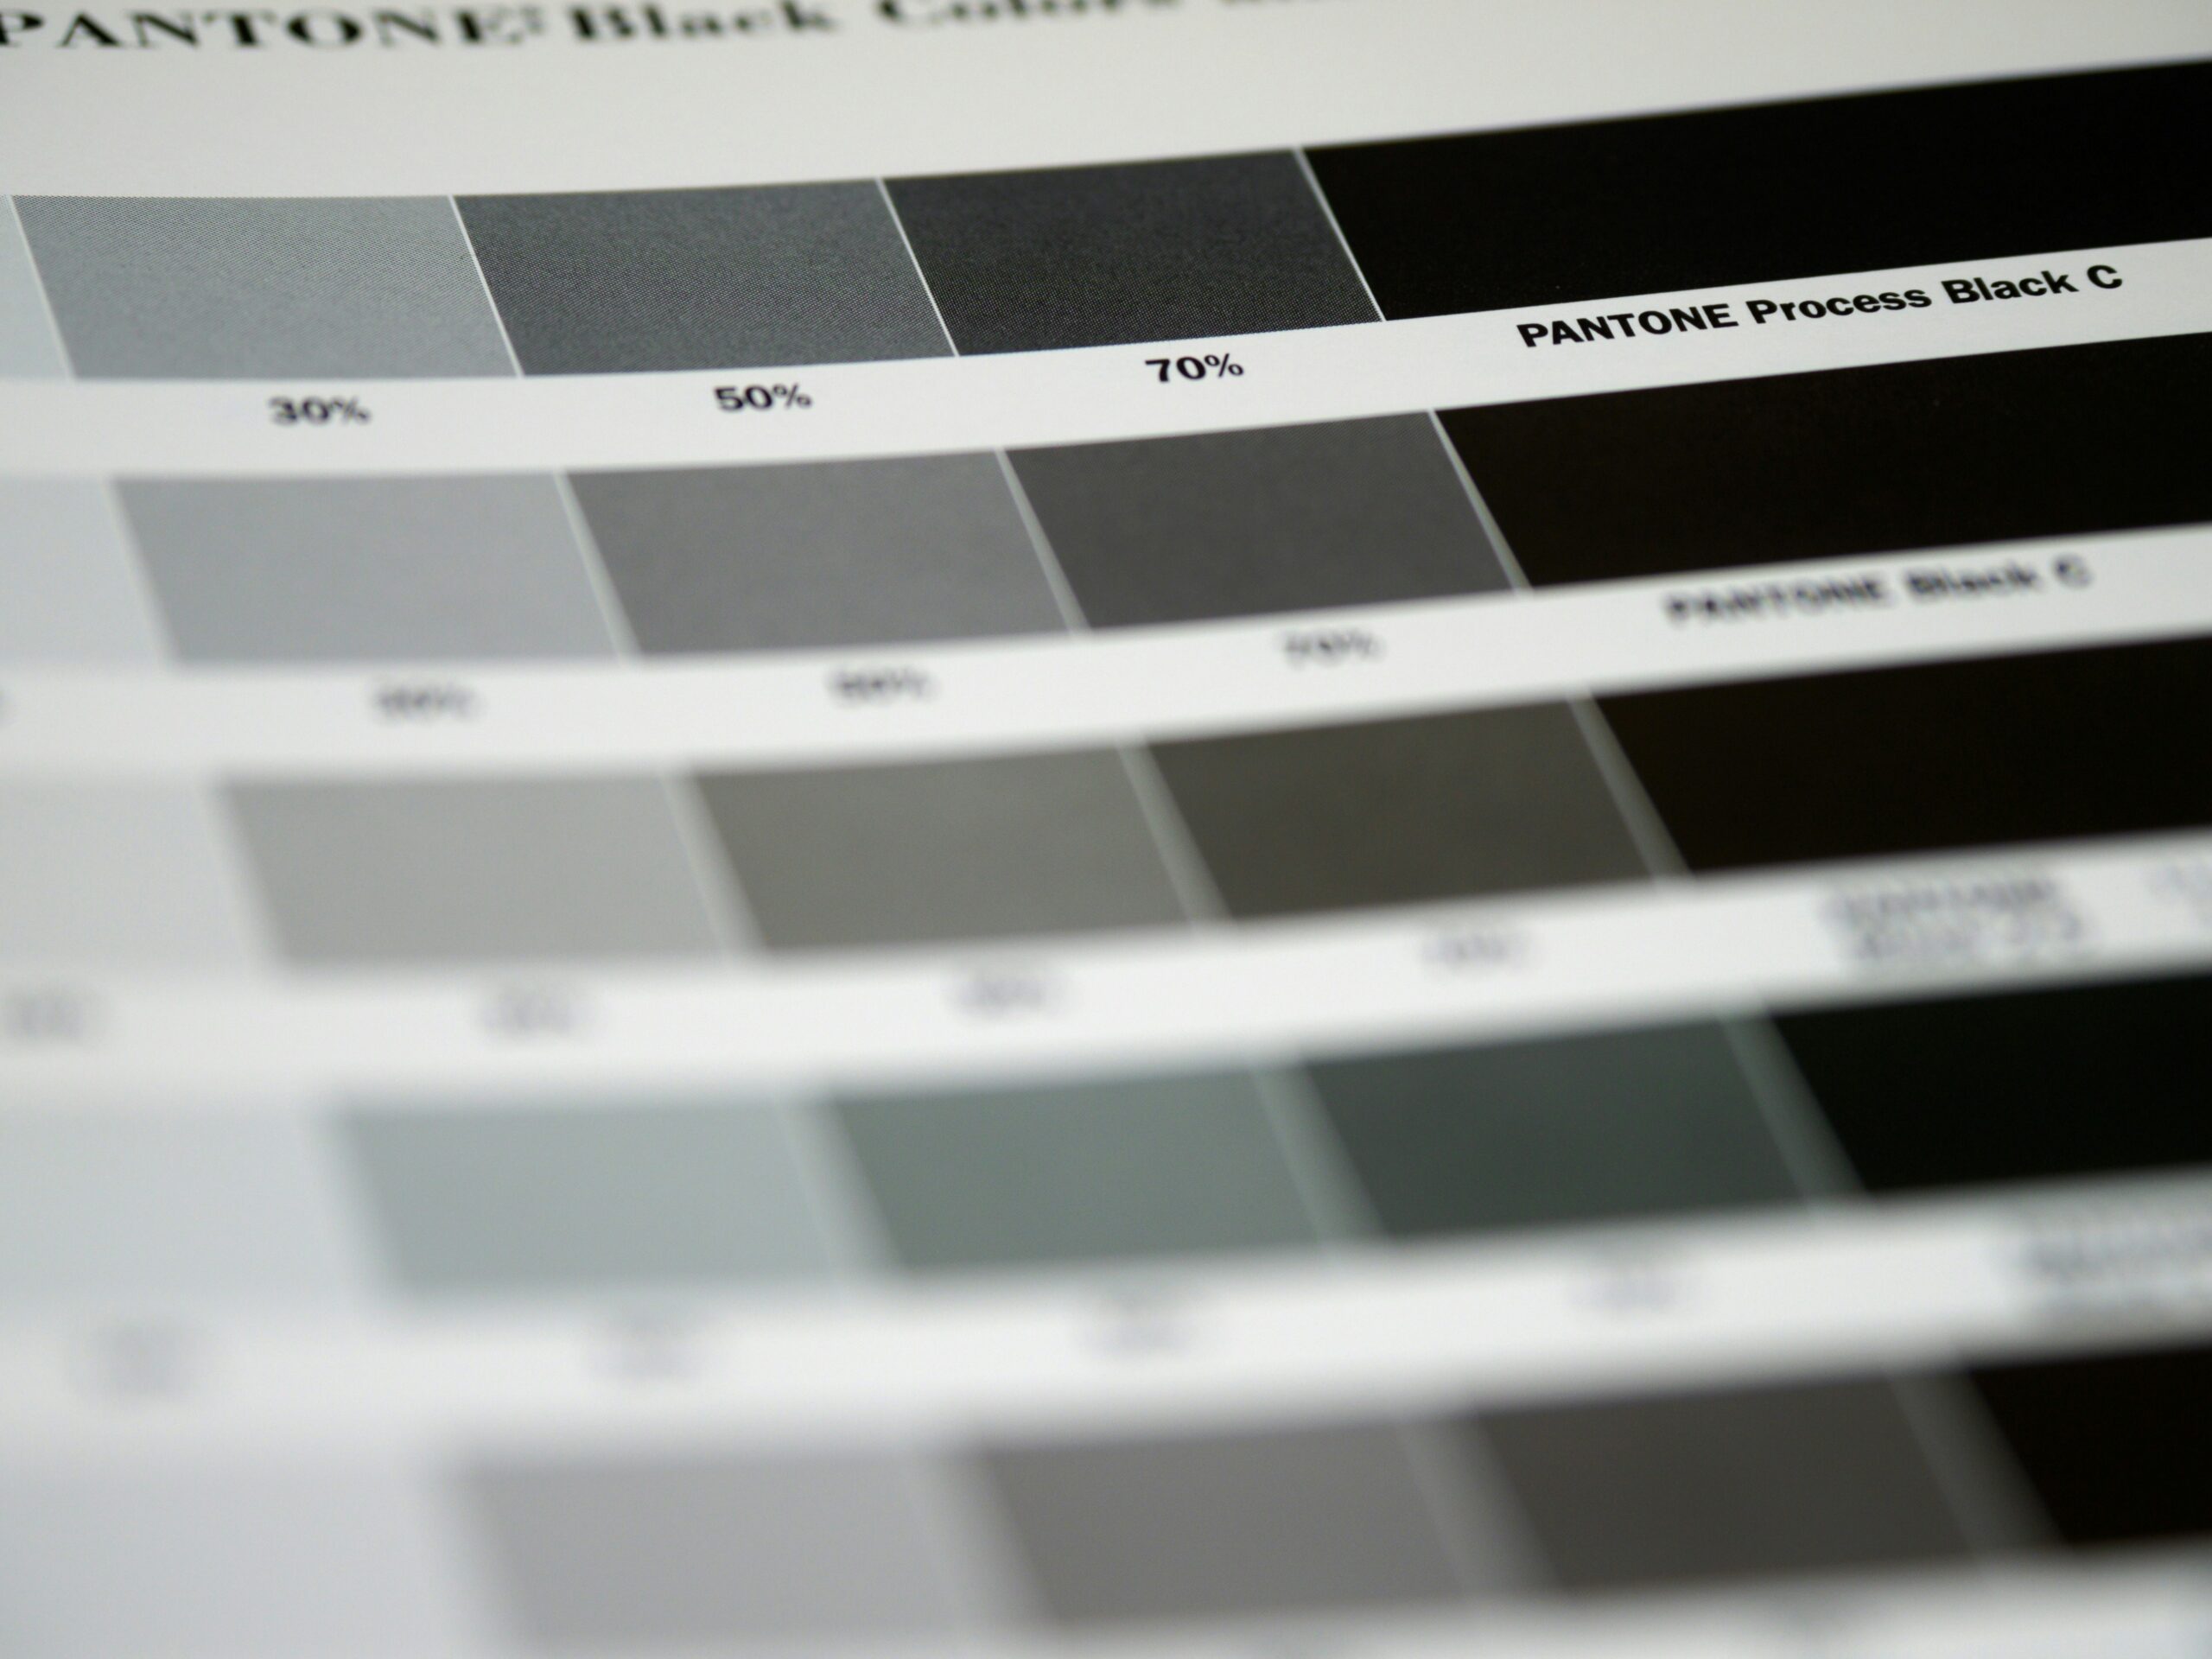
For mixed or unusual lighting where no preset quite fits, photograph a gray card (or a plain white sheet of paper) under your actual scene light, then use your camera’s custom white balance function to set that as the reference. This is the most accurate method, since it’s calibrated to your exact lighting rather than a general preset.
3. Shoot RAW So You Can Fix It Afterward
A RAW file keeps the white balance as fully adjustable metadata rather than baking it into the image, so you can correct it after the fact with no quality loss. A JPEG has the white balance already applied and baked in, which limits how much you can shift it later without introducing color banding.
4. Adjust Temperature And Tint In Editing
In Lightroom or a similar RAW editor, use the eyedropper tool on something that should be neutral gray or white in the frame, or manually adjust the Temperature and Tint sliders until skin tones and whites look natural again.
If you’d rather see the Kelvin scale demonstrated on an actual camera menu, this walkthrough covers it directly:
Conclusion
So, what is white balance and how do you fix it? It’s the setting that tells your camera what color the light actually is, so it can render true whites and natural skin tones instead of an orange, blue, or green cast. Match the preset to your light, use a custom gray card reading for anything unusual, and shoot RAW so you always have room to correct it afterward if you get it wrong in the moment.