
You take a shot in a dim room or after the sun’s gone down, and it looks fine on the small camera screen. Then you open it on a computer and the shadows are covered in a speckled, sandy texture that wasn’t visible before. That’s noise, and once you’ve seen it at full size, the obvious question is how to fix grainy or noisy photos without just avoiding low light forever.
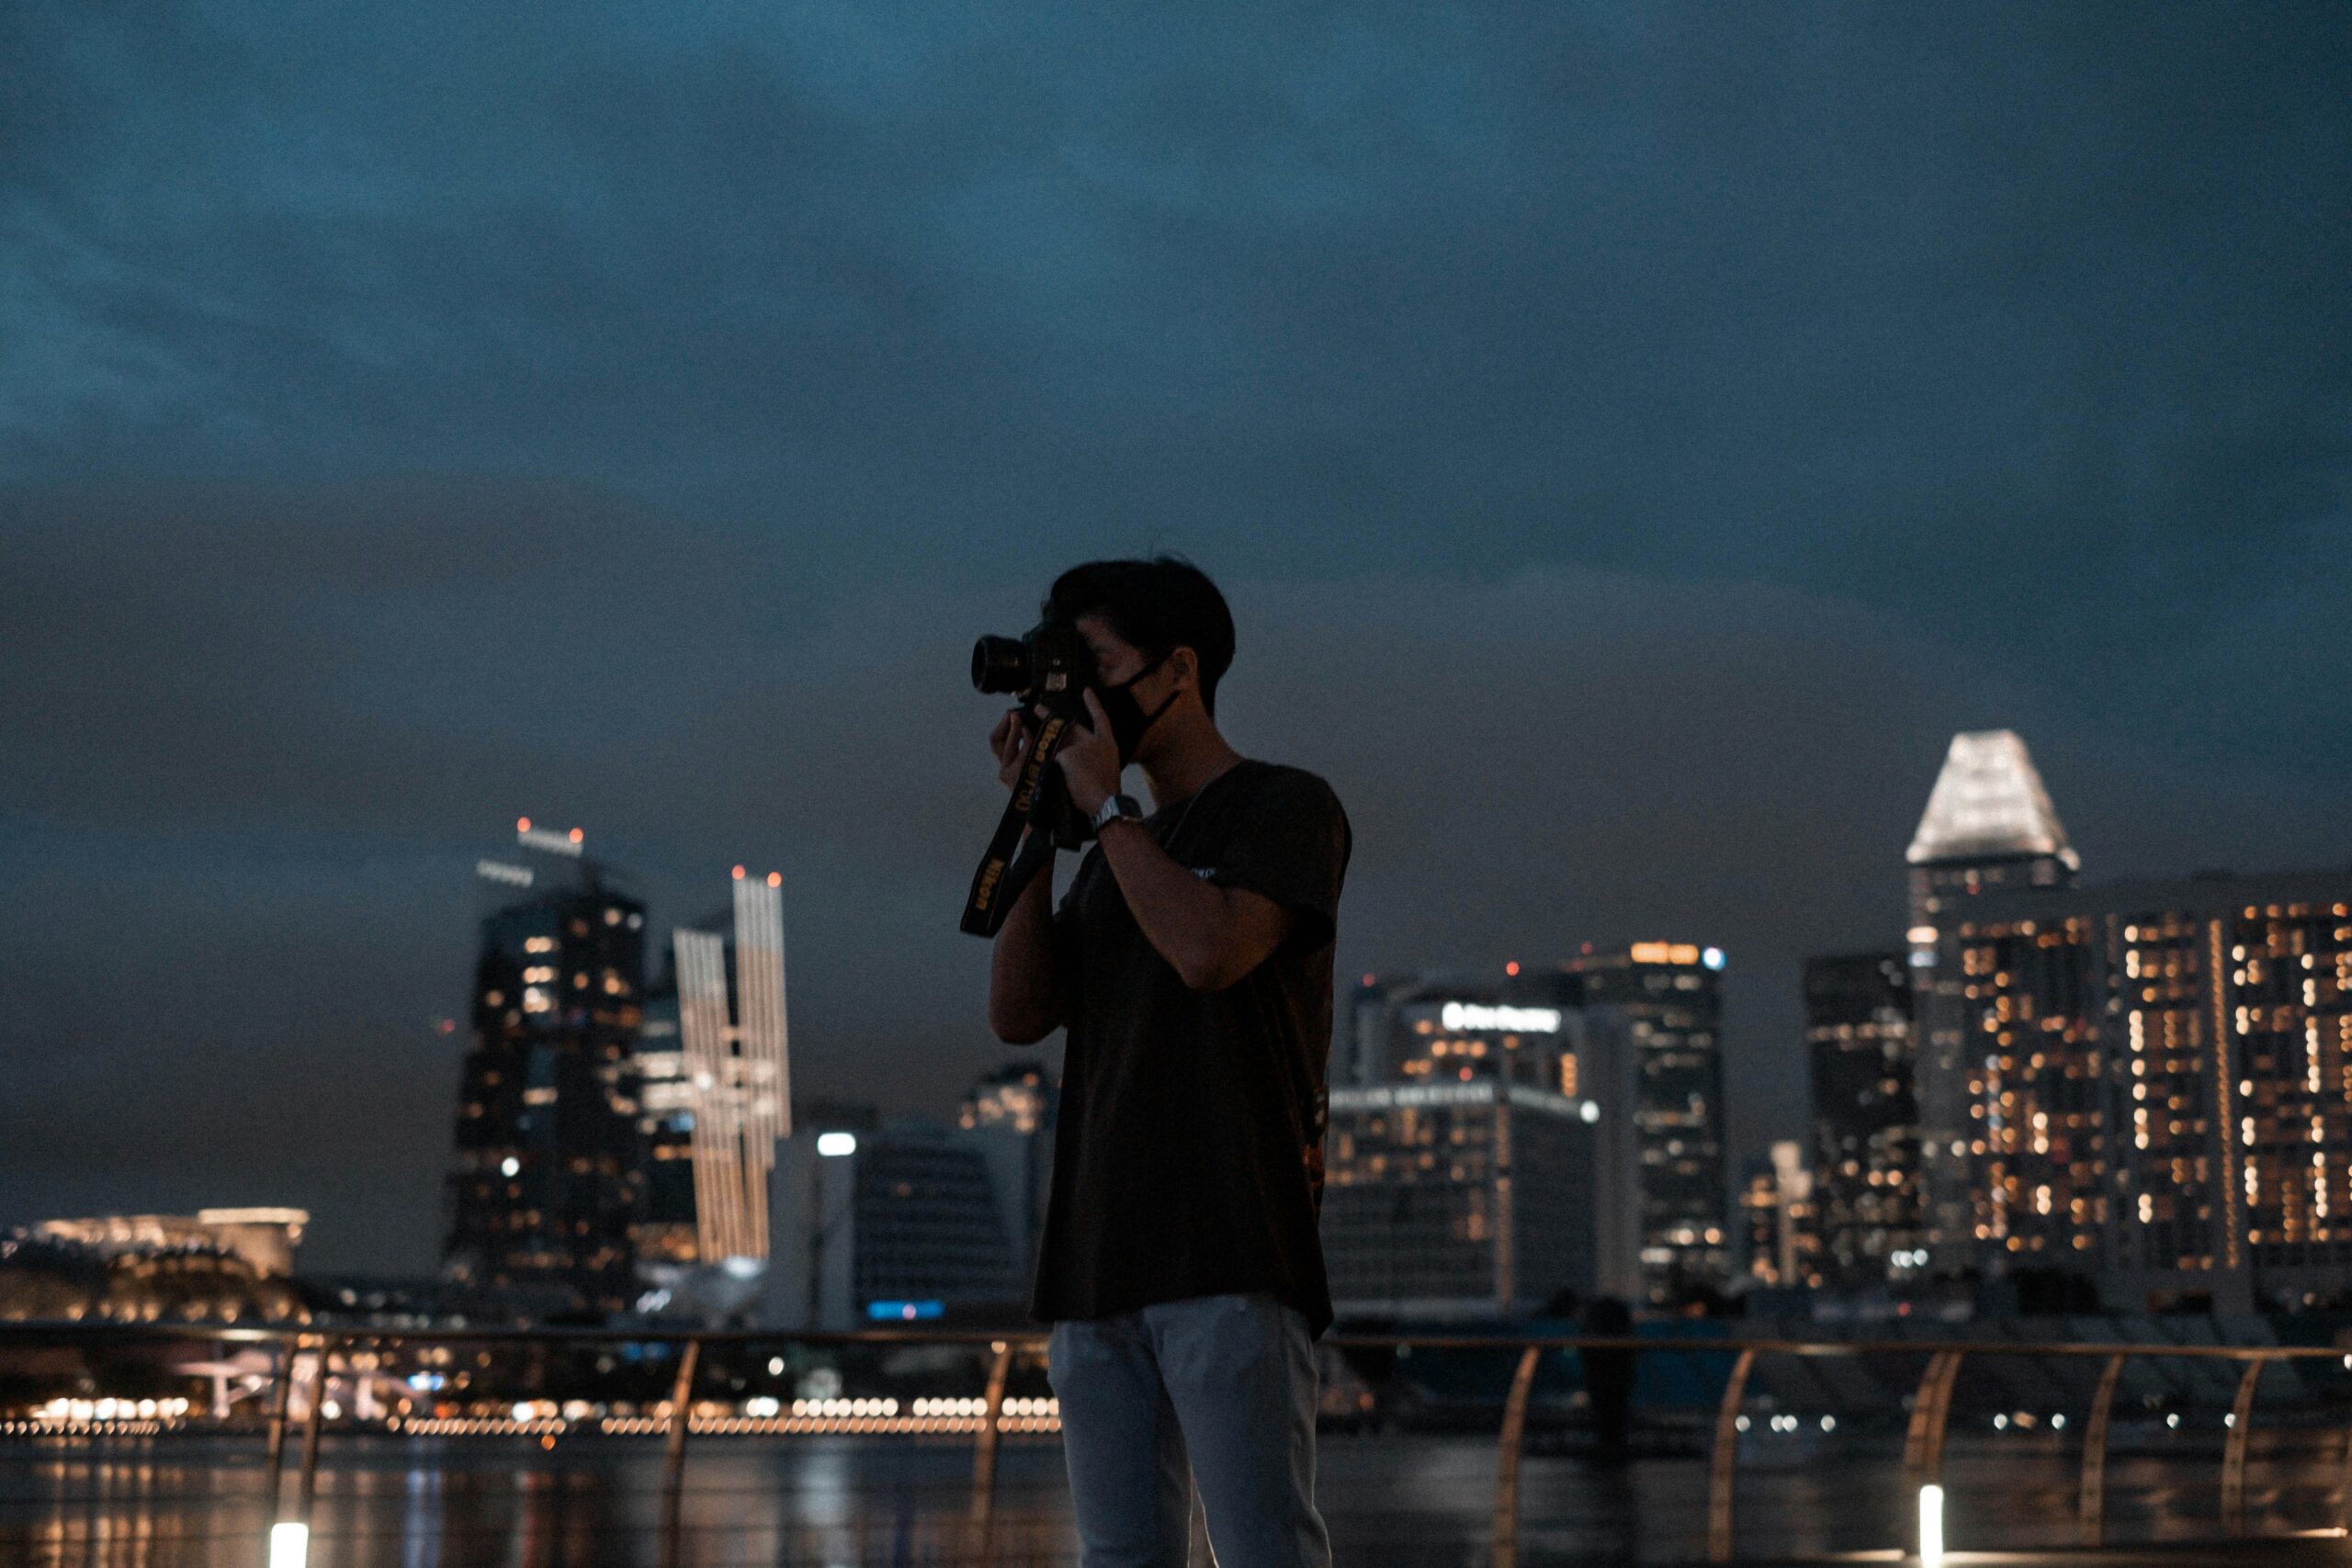
Most noise comes down to two things: how high your ISO was and how well you exposed the shot. Get both right and you’ll avoid the worst of it before you even press the shutter. For anything you’ve already shot, noise reduction software can pull the image back a long way, even if it can’t perform miracles on a badly underexposed frame.
Below, you’ll find what actually causes the graininess, the in-camera habits that prevent most of it, and how to clean up the photos you’ve already taken. Keep reading to find out more!
What Causes Grainy Or Noisy Photos?
High ISO Settings
ISO works by amplifying the signal from your sensor, and amplifying the signal amplifies its imperfections along with it. The higher you push it, the more speckled texture shows up, especially in shadows and other dark areas of the frame.
Underexposing And Then Brightening It Later
A photo that’s too dark straight out of the camera and gets pulled back up in editing ends up noisier than one that was exposed correctly to begin with. The noise was always there in the shadows. Brightening the image just makes it visible.
Long Exposures
Leaving the shutter open for several seconds or longer, common in night and astrophotography, gives the sensor more time to generate noise from its own heat, on top of whatever ISO you’re using.
Older Or Smaller Sensors
Older camera bodies and cameras with smaller sensors tend to produce more visible noise at the same ISO compared to a newer camera with a larger sensor. This is one of the practical differences sensor size makes.
| ISO Range | Typical Noise Level |
|---|---|
| 100 to 400 | Minimal to none on most cameras |
| 800 to 1600 | Light, usually only visible in shadows |
| 1600 to 3200 | Noticeable, especially at full zoom |
| 3200 to 6400 | Heavy, visible even at normal viewing size |
| 6400 and above | Significant, usable mainly with noise reduction applied |
Treat that as a rough guide rather than an exact rule. Where noise actually becomes noticeable depends heavily on your specific camera and sensor, and a newer full-frame body can stay clean well past ISO 3200 while an older compact might show noise by ISO 800.
How To Prevent Noise Before You Even Take The Shot
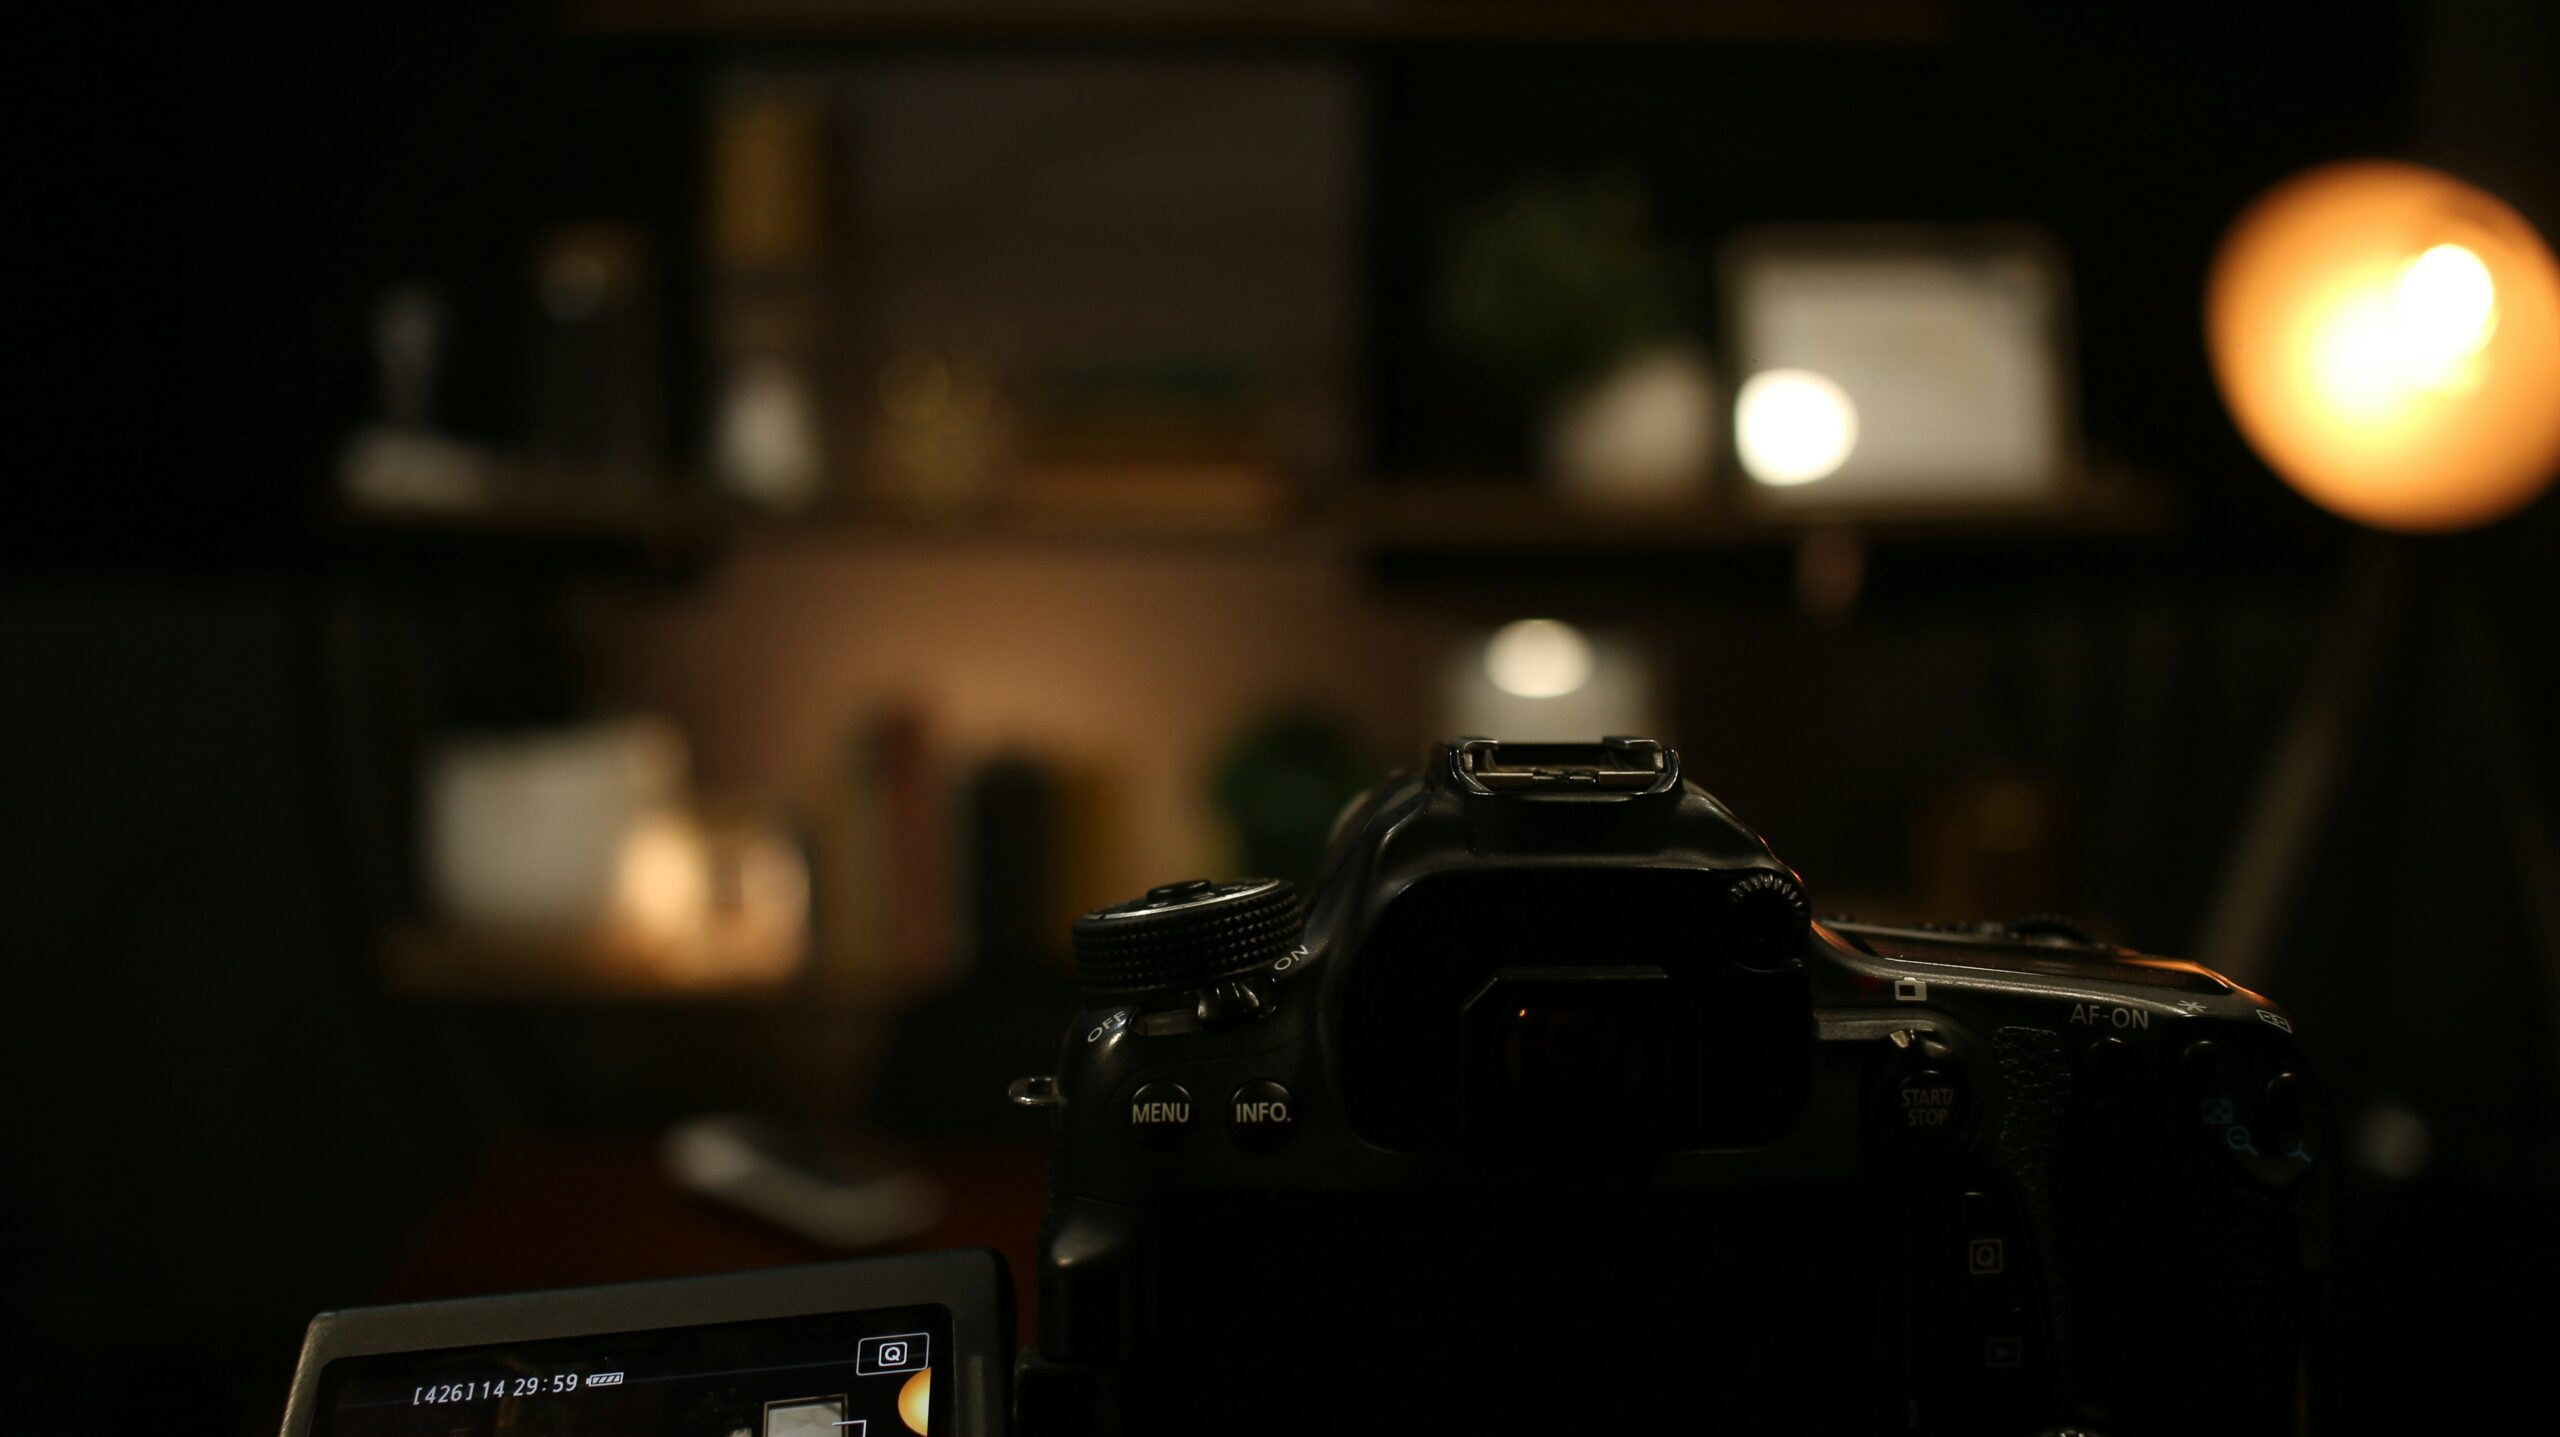
1. Keep ISO As Low As The Light Allows
Raise it only as much as you actually need for a usable shutter speed. It’s tempting to bump ISO as a first fix for a dark scene, but it’s the setting most directly responsible for noise.
2. Expose Correctly, Slightly Bright Rather Than Dark
Use your camera’s histogram and aim for it to sit a little to the right of center rather than bunched up on the left. A photo that’s slightly bright and gets pulled back down in editing holds up far better than one that’s dark and gets pushed up.
3. Use A Wider Aperture Or Slower Shutter Speed Instead Of Raising ISO
Before reaching for ISO, check whether opening up your aperture or slowing your shutter speed (with a tripod if needed) can get you the exposure you need without adding noise.
4. Shoot In RAW, Not JPEG
RAW files keep far more detail in the shadows to work with, which gives noise reduction software much more to work with afterward. A JPEG has already thrown some of that detail away in-camera.
How To Fix Noise After You’ve Already Shot It
| Tool | What It Does |
|---|---|
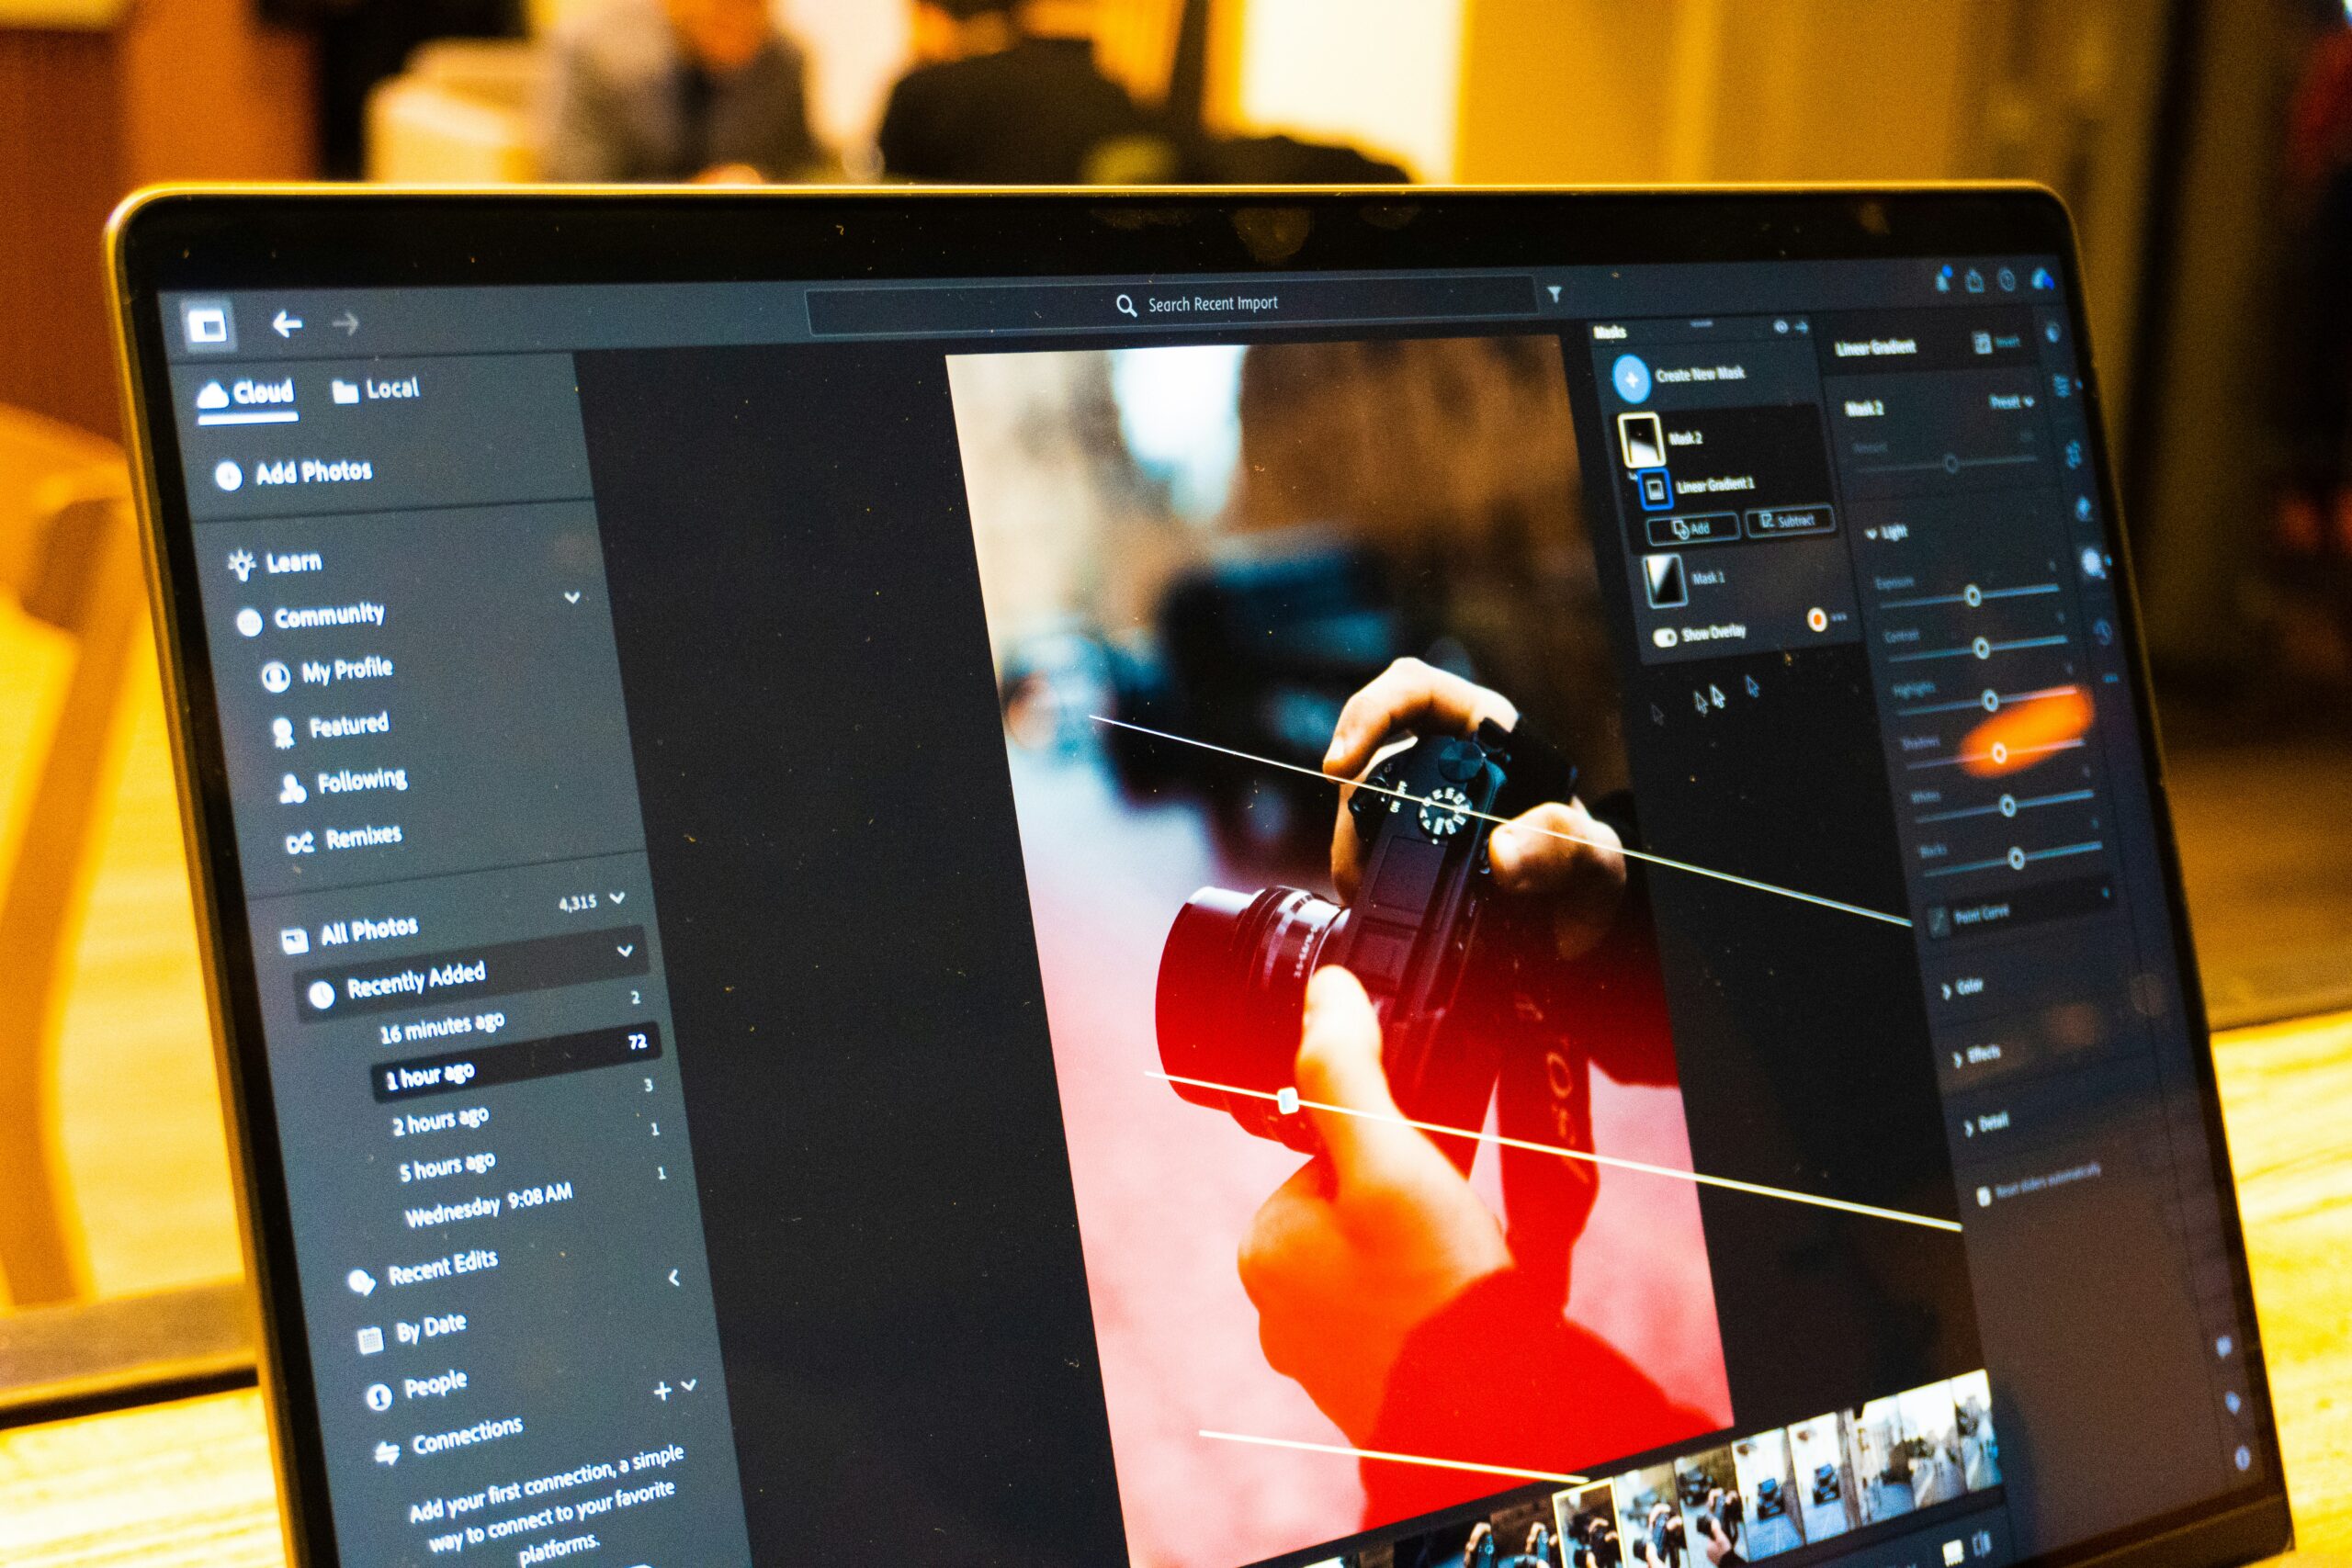
| Lightroom Detail panel | Manual Luminance and Color noise sliders for fine control over RAW files |
| Lightroom Denoise (AI) | AI-based noise reduction built for RAW files, generally stronger than the manual sliders alone |
| Photoshop Reduce Noise filter | A built-in filter under the Filter menu for quick noise cleanup |
| Snapseed (mobile, free) | Includes a Structure tool that can help reduce noise on photos edited from a phone |
Start conservative. Pushing noise reduction too far smooths away fine detail along with the noise, leaving photos looking waxy or plastic instead of just clean.
If you want to see this done step by step, along with a few in-camera habits that prevent noise in the first place, this video walks through both:
Conclusion
So, how do you fix grainy or noisy photos? Keep ISO as low as the light allows, expose correctly rather than underexposing and brightening later, and shoot RAW so you have the most detail to work with. For shots you’ve already taken, noise reduction software can clean up a surprising amount, as long as you don’t push it so far that you lose the detail along with the grain.