
You turn the camera on, the lens tries to extend, and instead of clicking smoothly into place it grinds, jerks, or just stops halfway. Maybe the screen flashes “Lens Error, Restart Camera” and the camera shuts itself off. It’s one of the more alarming things a camera can do, and if it just happened to you, you’re probably wondering how to fix a stuck camera lens before you assume it’s dead for good.

This is a well-known problem, common enough on compact point-and-shoot cameras that it has its own long history of DIY fixes. Roughly half the time, a simple low-risk fix clears it up. The rest of the time it needs a more hands-on approach, or a trip to a repair shop.
Below you’ll find what usually causes it, the safe fixes to try first, the riskier ones people turn to when those don’t work, what to avoid entirely, and how to tell when it’s time to stop and get it looked at professionally. Keep reading to find out more!
What Causes A Camera Lens To Get Stuck?
Sand, Dust, Or Grit In The Barrel
Compact cameras extend their lens through a set of moving barrel sections, and it doesn’t take much sand or dust getting into those gaps to throw the mechanism off. This is especially common after a day at the beach or somewhere dusty.
A Knock Or Drop While The Lens Was Extended
Turning a camera on inside a tight pocket or bag, or dropping it while the lens is out, can knock the barrel slightly out of alignment. Even a small bump can be enough.
Worn Or Misaligned Guide Pins
The lens barrel extends along small guide pins. Over time or after an impact, these can wear down or slip out of position, which stops the lens from extending or retracting smoothly.
A Weak Battery Mid-Extension
If the battery is too low to power the motor all the way through, the lens can stall partway and get stuck there.
Low-Risk Fixes To Try First
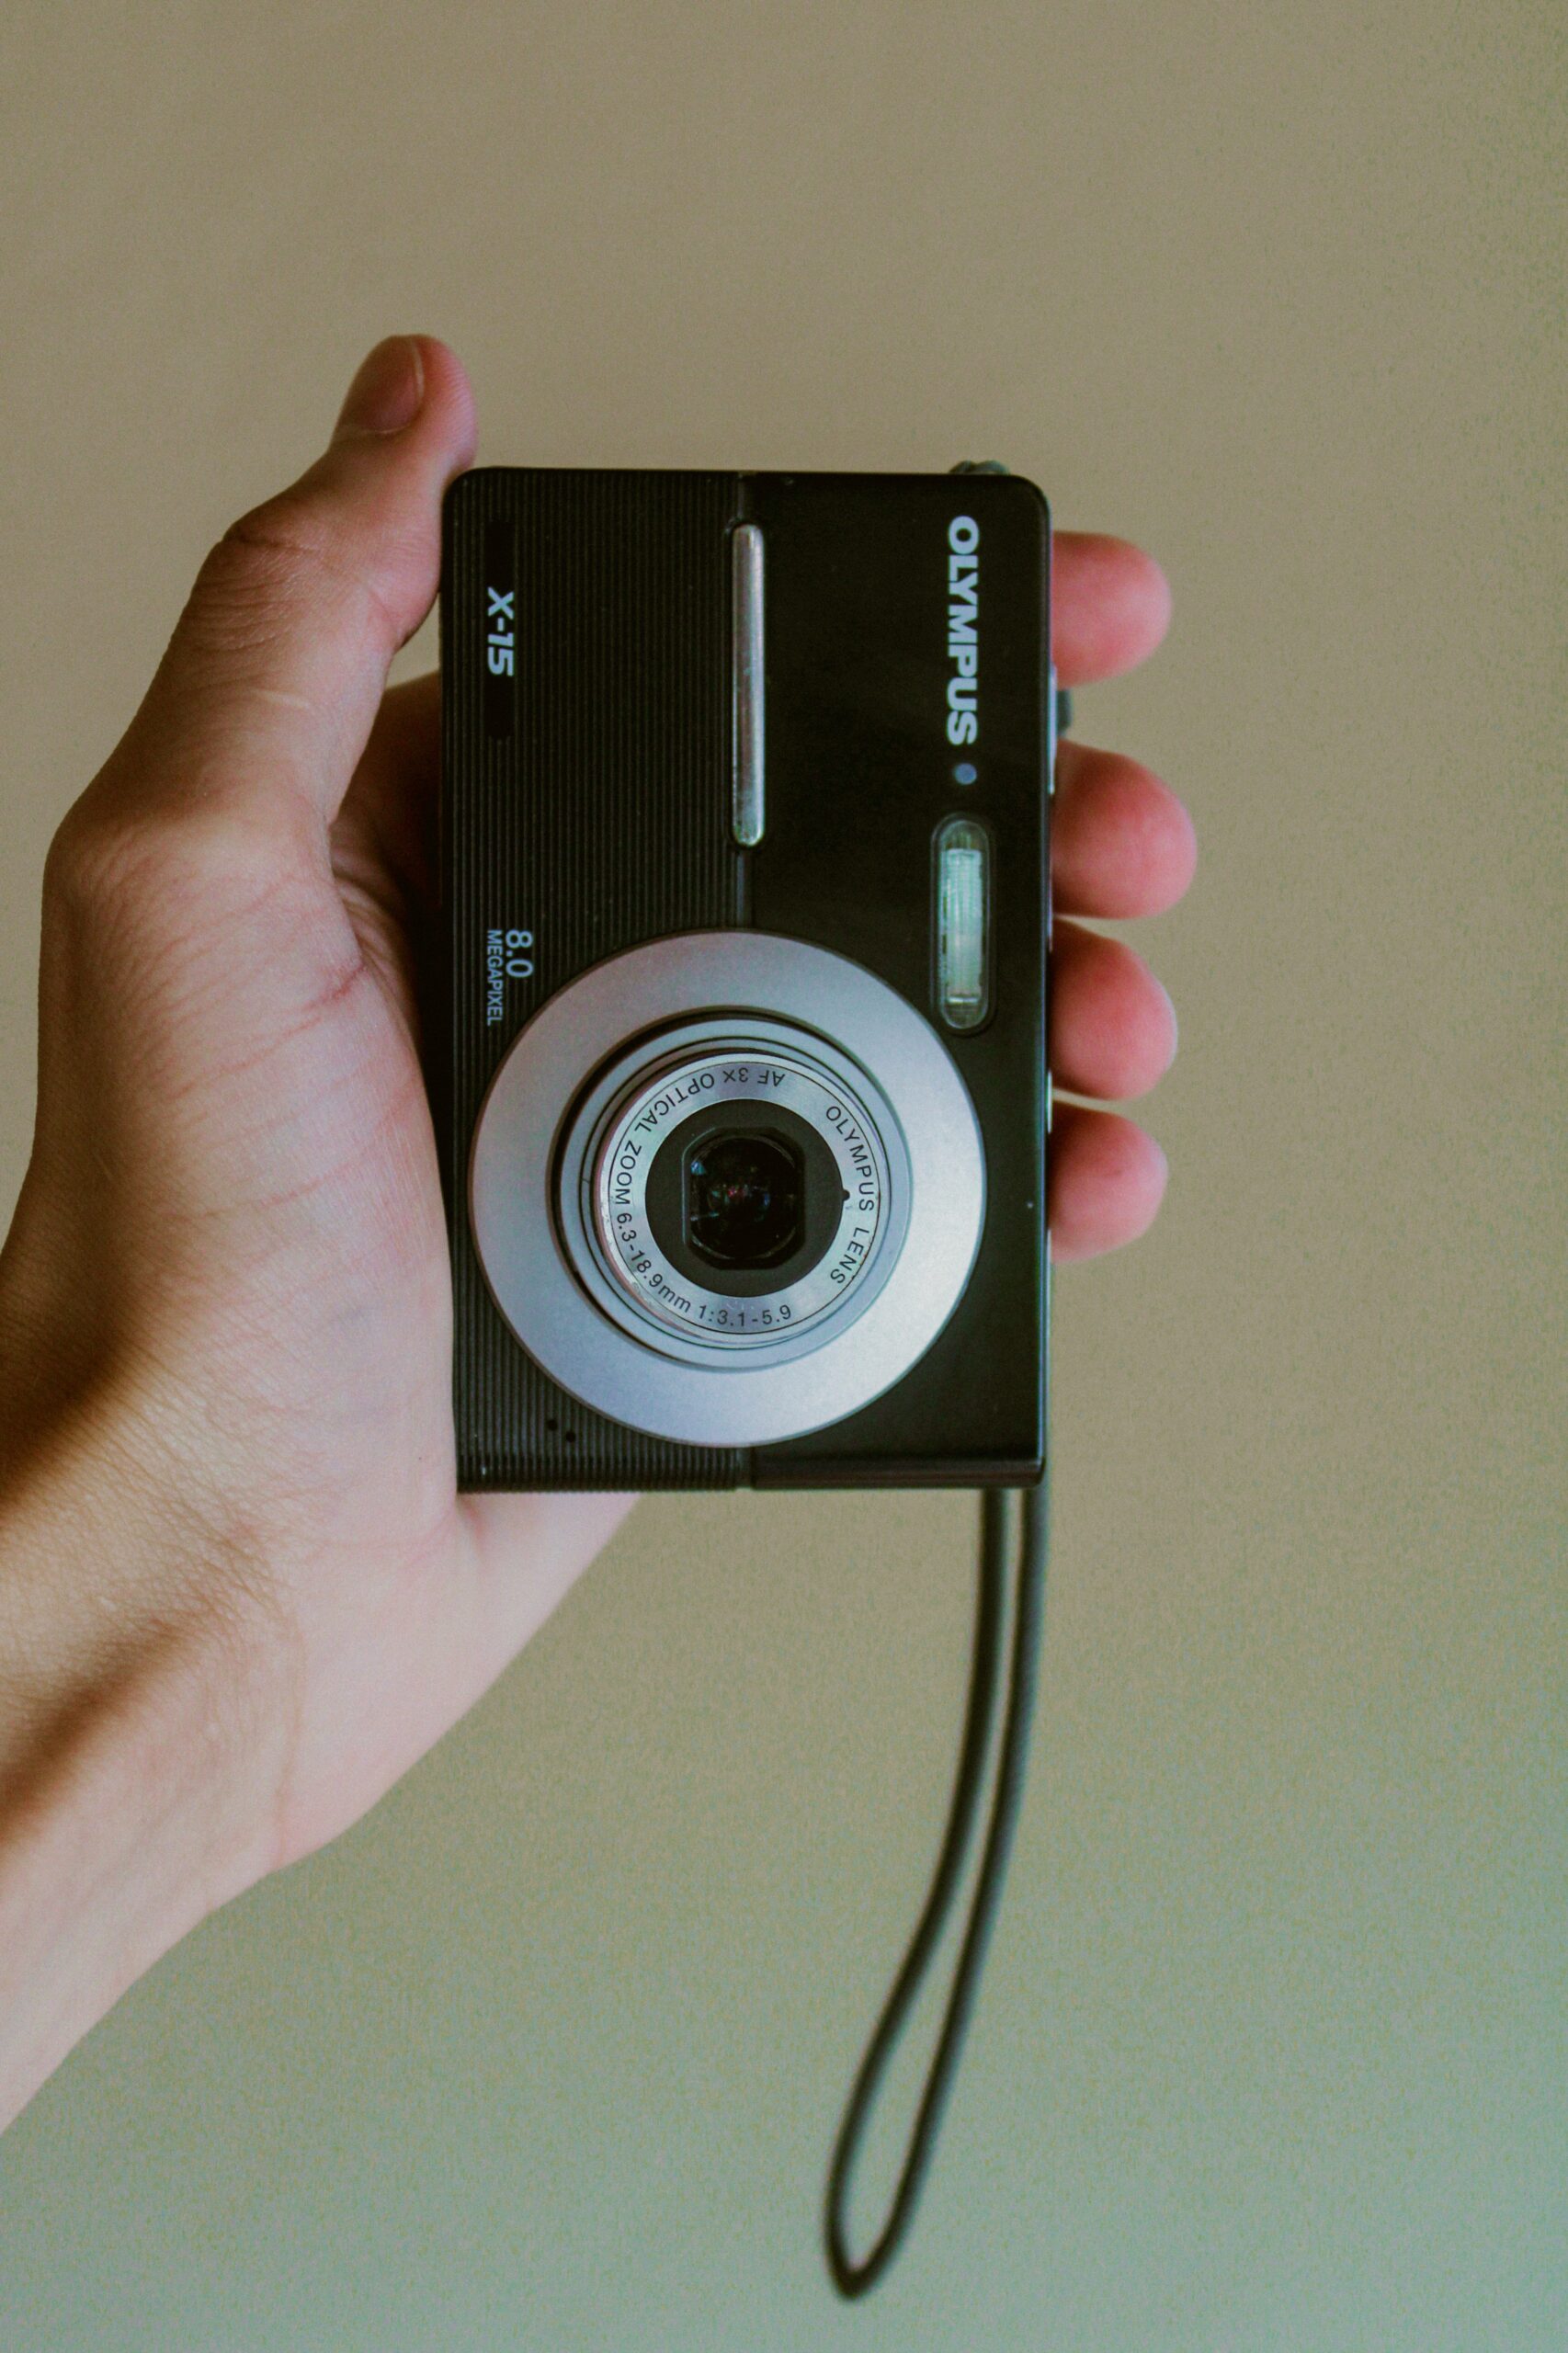
1. Reset The Batteries
Remove the batteries, wait a minute, then put in a fresh or fully charged set. A weak battery is one of the more common causes, and this alone sometimes clears the error.
2. Remove The Memory Card, Then Power On
Take the memory card out before powering on. On some cameras this forces a different startup routine that can reset a minor lens fault. Turn it off, reinsert the card, and try again.
3. Connect The AV Or USB Cable And Power On
With the cable connected, some cameras skip powering the LCD screen and put more of the available power toward the lens motor instead, giving it a bit more force to push through whatever’s causing the jam.
4. Lay It Flat And Power On While Holding The Shutter Button
Place the camera flat on its back, lens pointing up at the ceiling. Press and hold the shutter button, then press power at the same time. This changes how the lens tries to extend and can help it re-seat properly on its guide pins.
Higher-Risk Fixes (Only If Nothing Above Worked)
These carry a real chance of making things worse, so only try them if the camera is out of warranty or not worth a professional repair bill. If you ever hear a distinct click while trying one of these, stop immediately. That click usually means the guide pins have re-seated.
1. Compressed Air Around The Barrel
With the camera off, aim short bursts of compressed air into the gaps around the lens barrel to dislodge sand or grit. A cool hair dryer setting works as an alternative if you don’t have compressed air on hand.
2. Removing Visible Debris By Hand
If you can actually see a grain of sand or a bit of grit wedged in a gap, a thin piece of paper can sometimes lift it out. Keep it shallow (under about a centimeter) and stop if you meet resistance. Forcing it further risks scratching the barrel.
3. Light Tapping
With the lens pointing down, gently tap around the barrel with something soft, like a pencil eraser, while turning the camera on and off. Some people find gently tapping the padded battery door area against their palm works too. Keep it light. This is a last resort, not a first attempt.
If you’d rather see these fixes attempted in real time before trying them yourself, this walkthrough covers the same ground:
What To Avoid
- Forcing the lens barrel fully closed by hand. It can jam permanently in that position.
- Prying at the barrel with anything hard or sharp, like a screwdriver or knife.
- Trying the higher-risk fixes on a camera that’s still under warranty. Attempting a DIY fix first can void it.
- Holding compressed air too close or using it at full force, which can push debris deeper in instead of out.
When Should You Send It To A Repair Shop Instead?
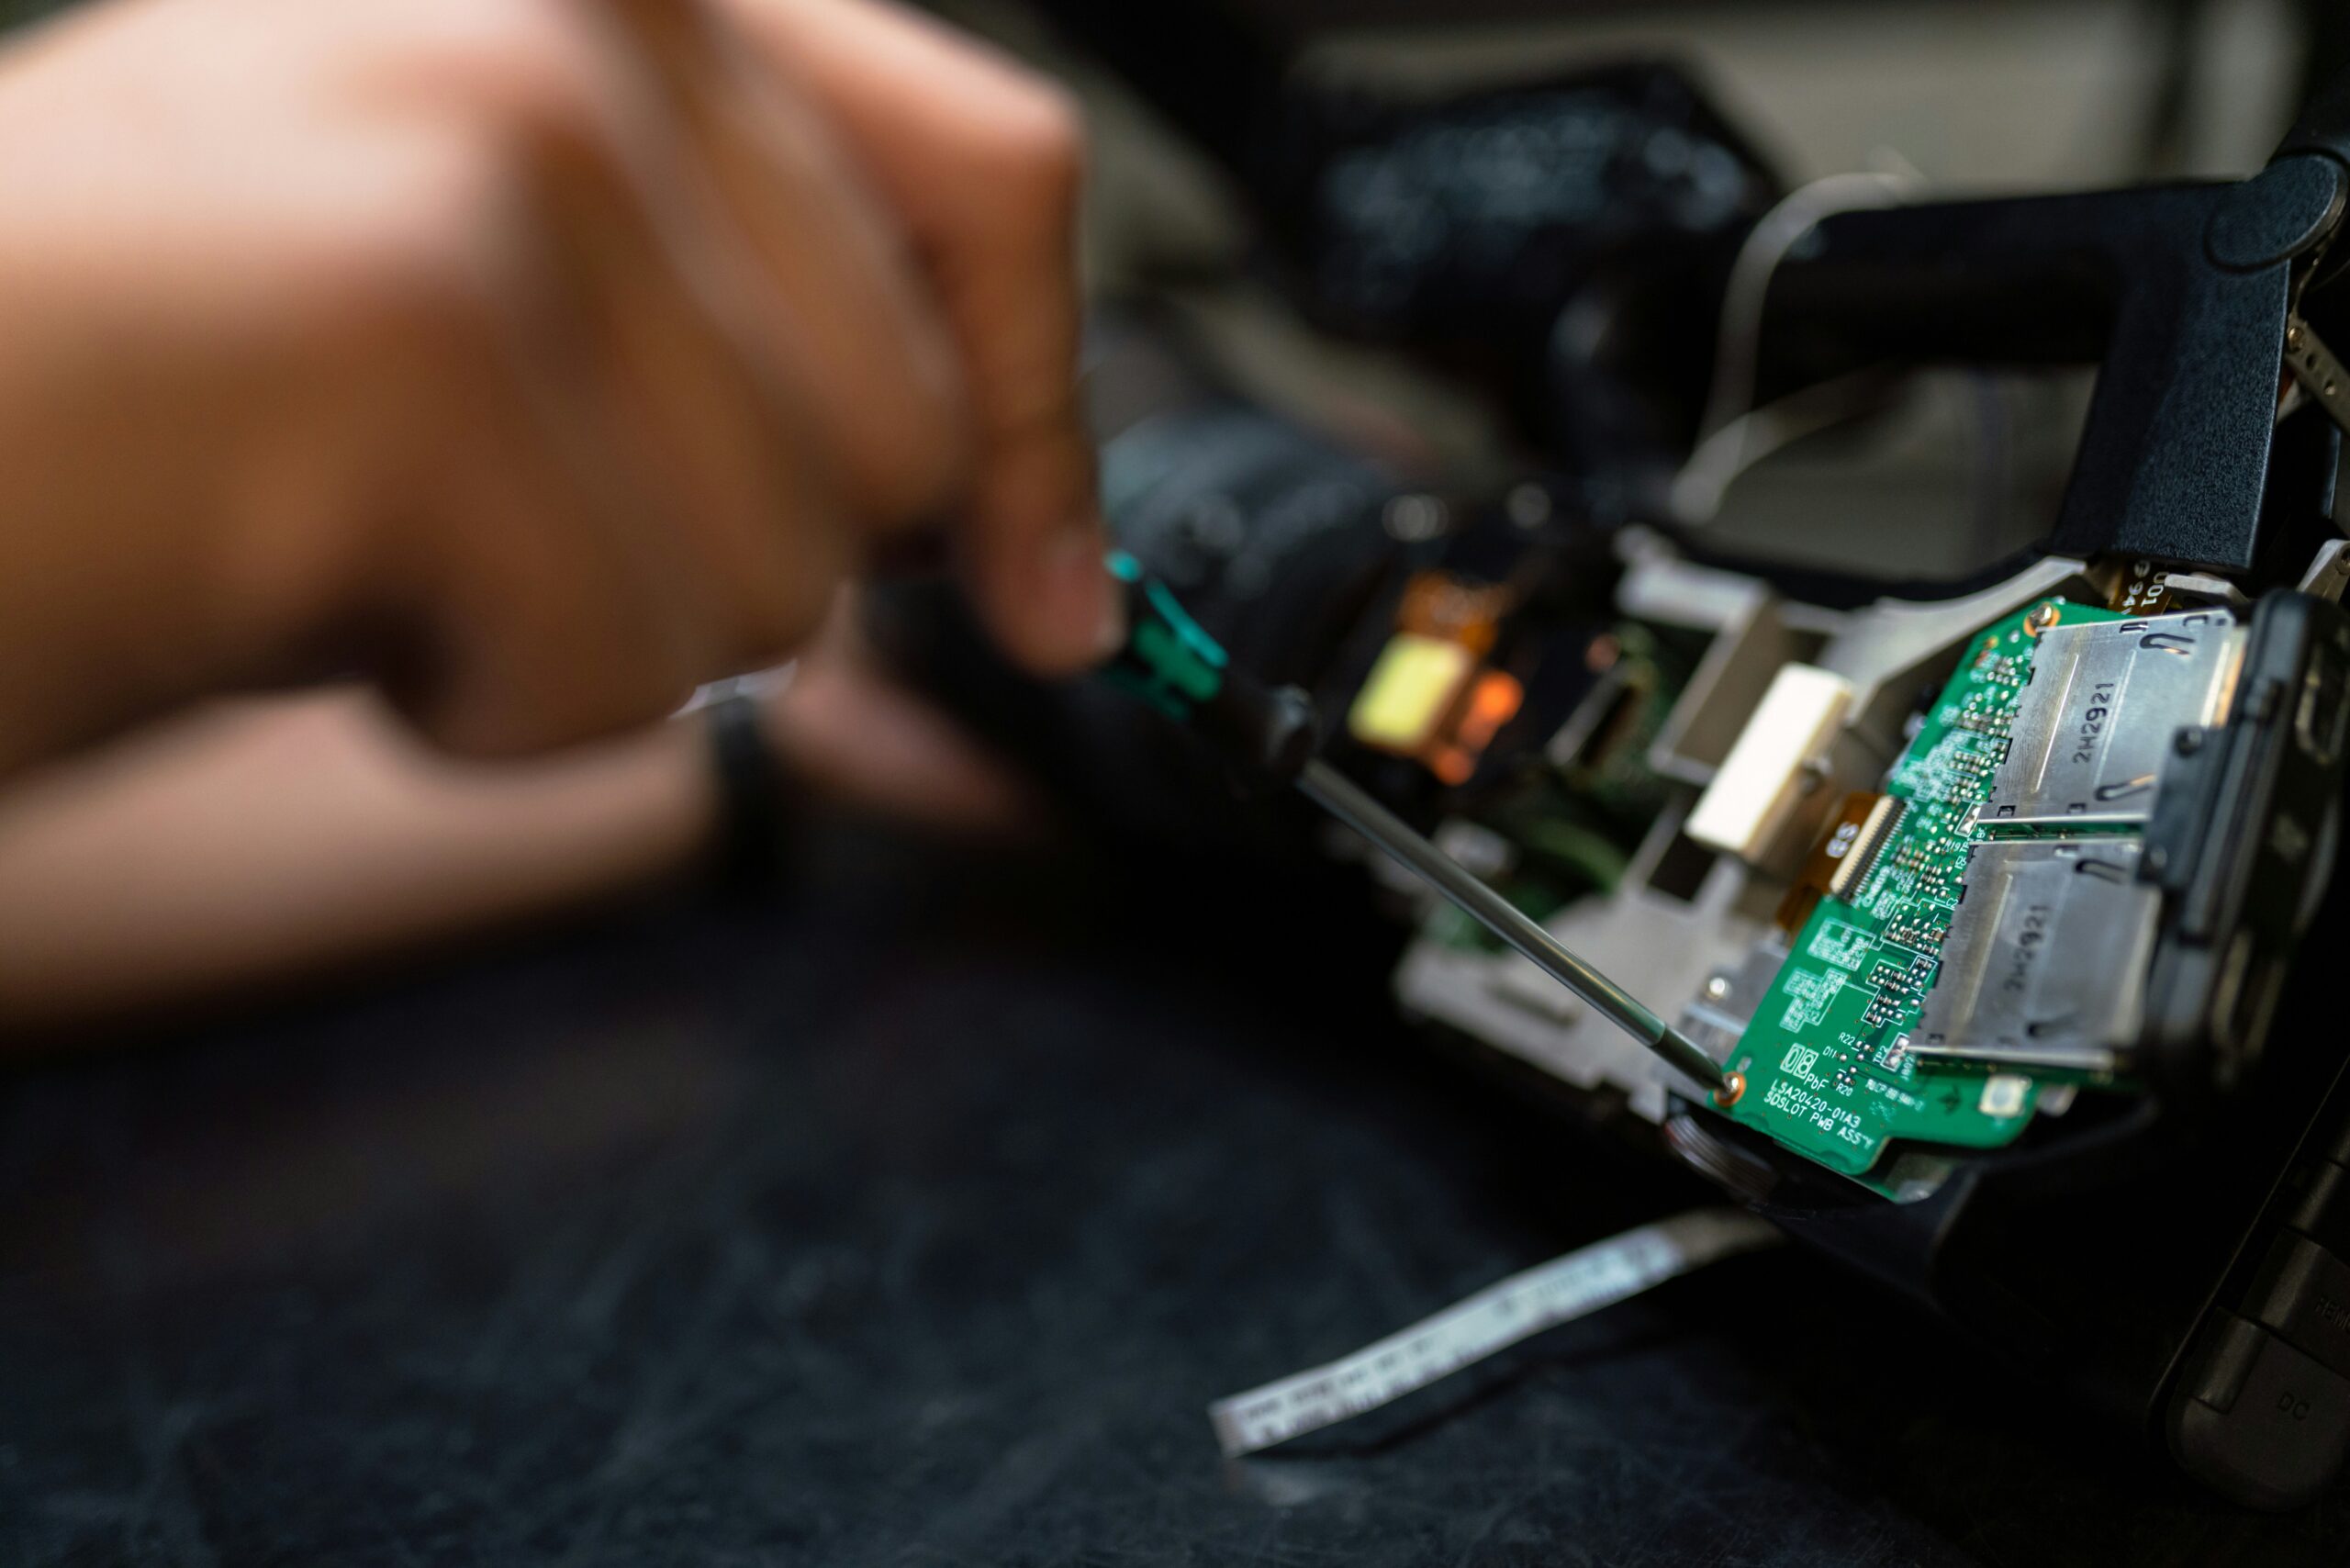
If the low-risk fixes didn’t work, the camera is still under warranty, the lens looks visibly bent or crooked, or you hear grinding or cracking sounds rather than a clean click, it’s time to stop and get it looked at. A non-warranty repair typically runs somewhere between $79 and $250 depending on the camera, which is worth weighing against the cost of a replacement.
Conclusion
So, how do you fix a stuck camera lens? Start with the low-risk options: fresh batteries, the memory card trick, the AV cable trick, and the flat-on-its-back method. If none of those work and the camera isn’t under warranty, the more hands-on fixes are worth a careful try. If you hear grinding instead of a click, or the lens looks physically bent, that’s your sign to hand it to a professional instead of pushing further.