
You’re going through a batch of photos and notice the same dark, blurry smudge sitting in the exact same spot on every single frame. It’s not on your lens, because switching lenses doesn’t make it go away. That smudge is sitting on your sensor, and once you’ve spotted it, the obvious question is how to clean a camera sensor at home without making things worse.
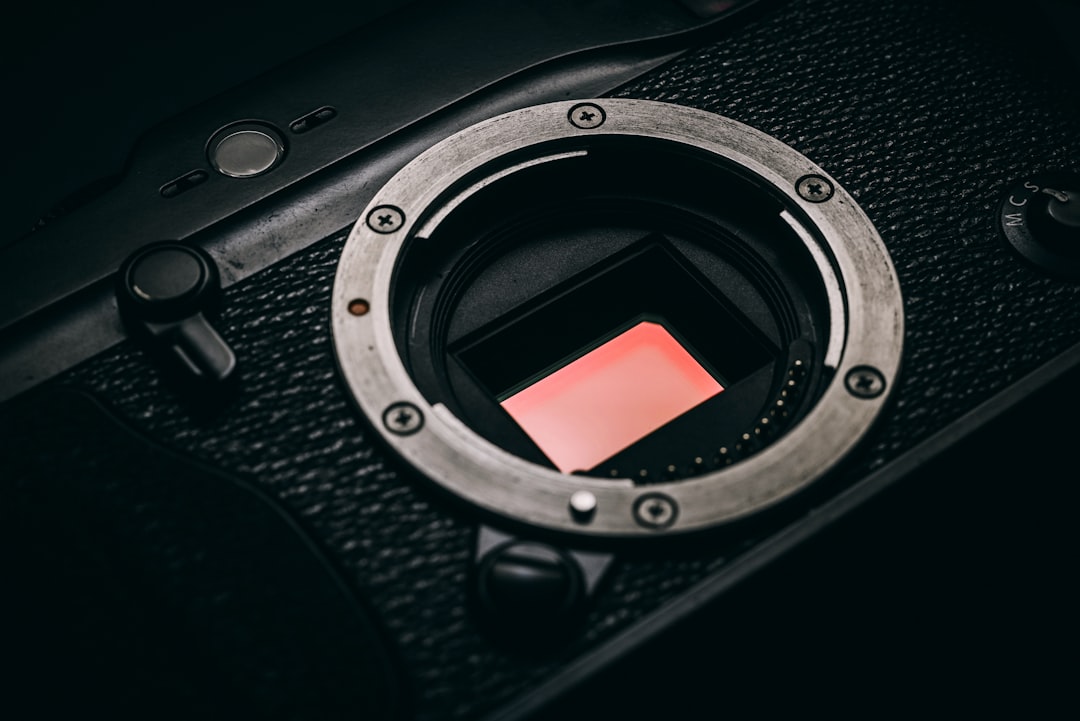
It’s doable at home if you take it slowly and use the right tools. It’s also one of the easier places to cause an expensive problem if you rush it or reach for the wrong cleaning supplies, so knowing where the line is matters as much as the technique itself.
In this guide, you’ll learn how to confirm the spots are actually sensor dust, what to gather before you touch anything, the safe cleaning steps in order, what to avoid completely, and when it’s smarter to just send the camera in. Keep reading to find out more!
How Do You Know If Your Camera Sensor Has Dust On It?
Set your camera to a small aperture, somewhere around f/16 to f/22, with a low ISO. Point it at something plain and bright, like a clear sky or a blank white wall, and take a few shots while moving the camera slightly between them. Then check the images at full zoom on a screen, not just on the camera’s own LCD.
Sensor dust shows up as small, soft-edged dark spots that land in the exact same position across every shot, even though the frame itself has moved. That last part is the giveaway: dust on your lens or in the air moves between shots, but dust on the sensor doesn’t.

It’s worth knowing that dust visible through the viewfinder doesn’t always show up in your images, and dust that does show up can practically disappear at a wide aperture like f/2.8 because of how shallow the depth of field is. A small aperture test shot is the only reliable way to actually confirm what you’re dealing with.
What You’ll Need Before You Start
Gather everything first so you’re not touching the sensor and then walking away mid-cleaning to go find something.
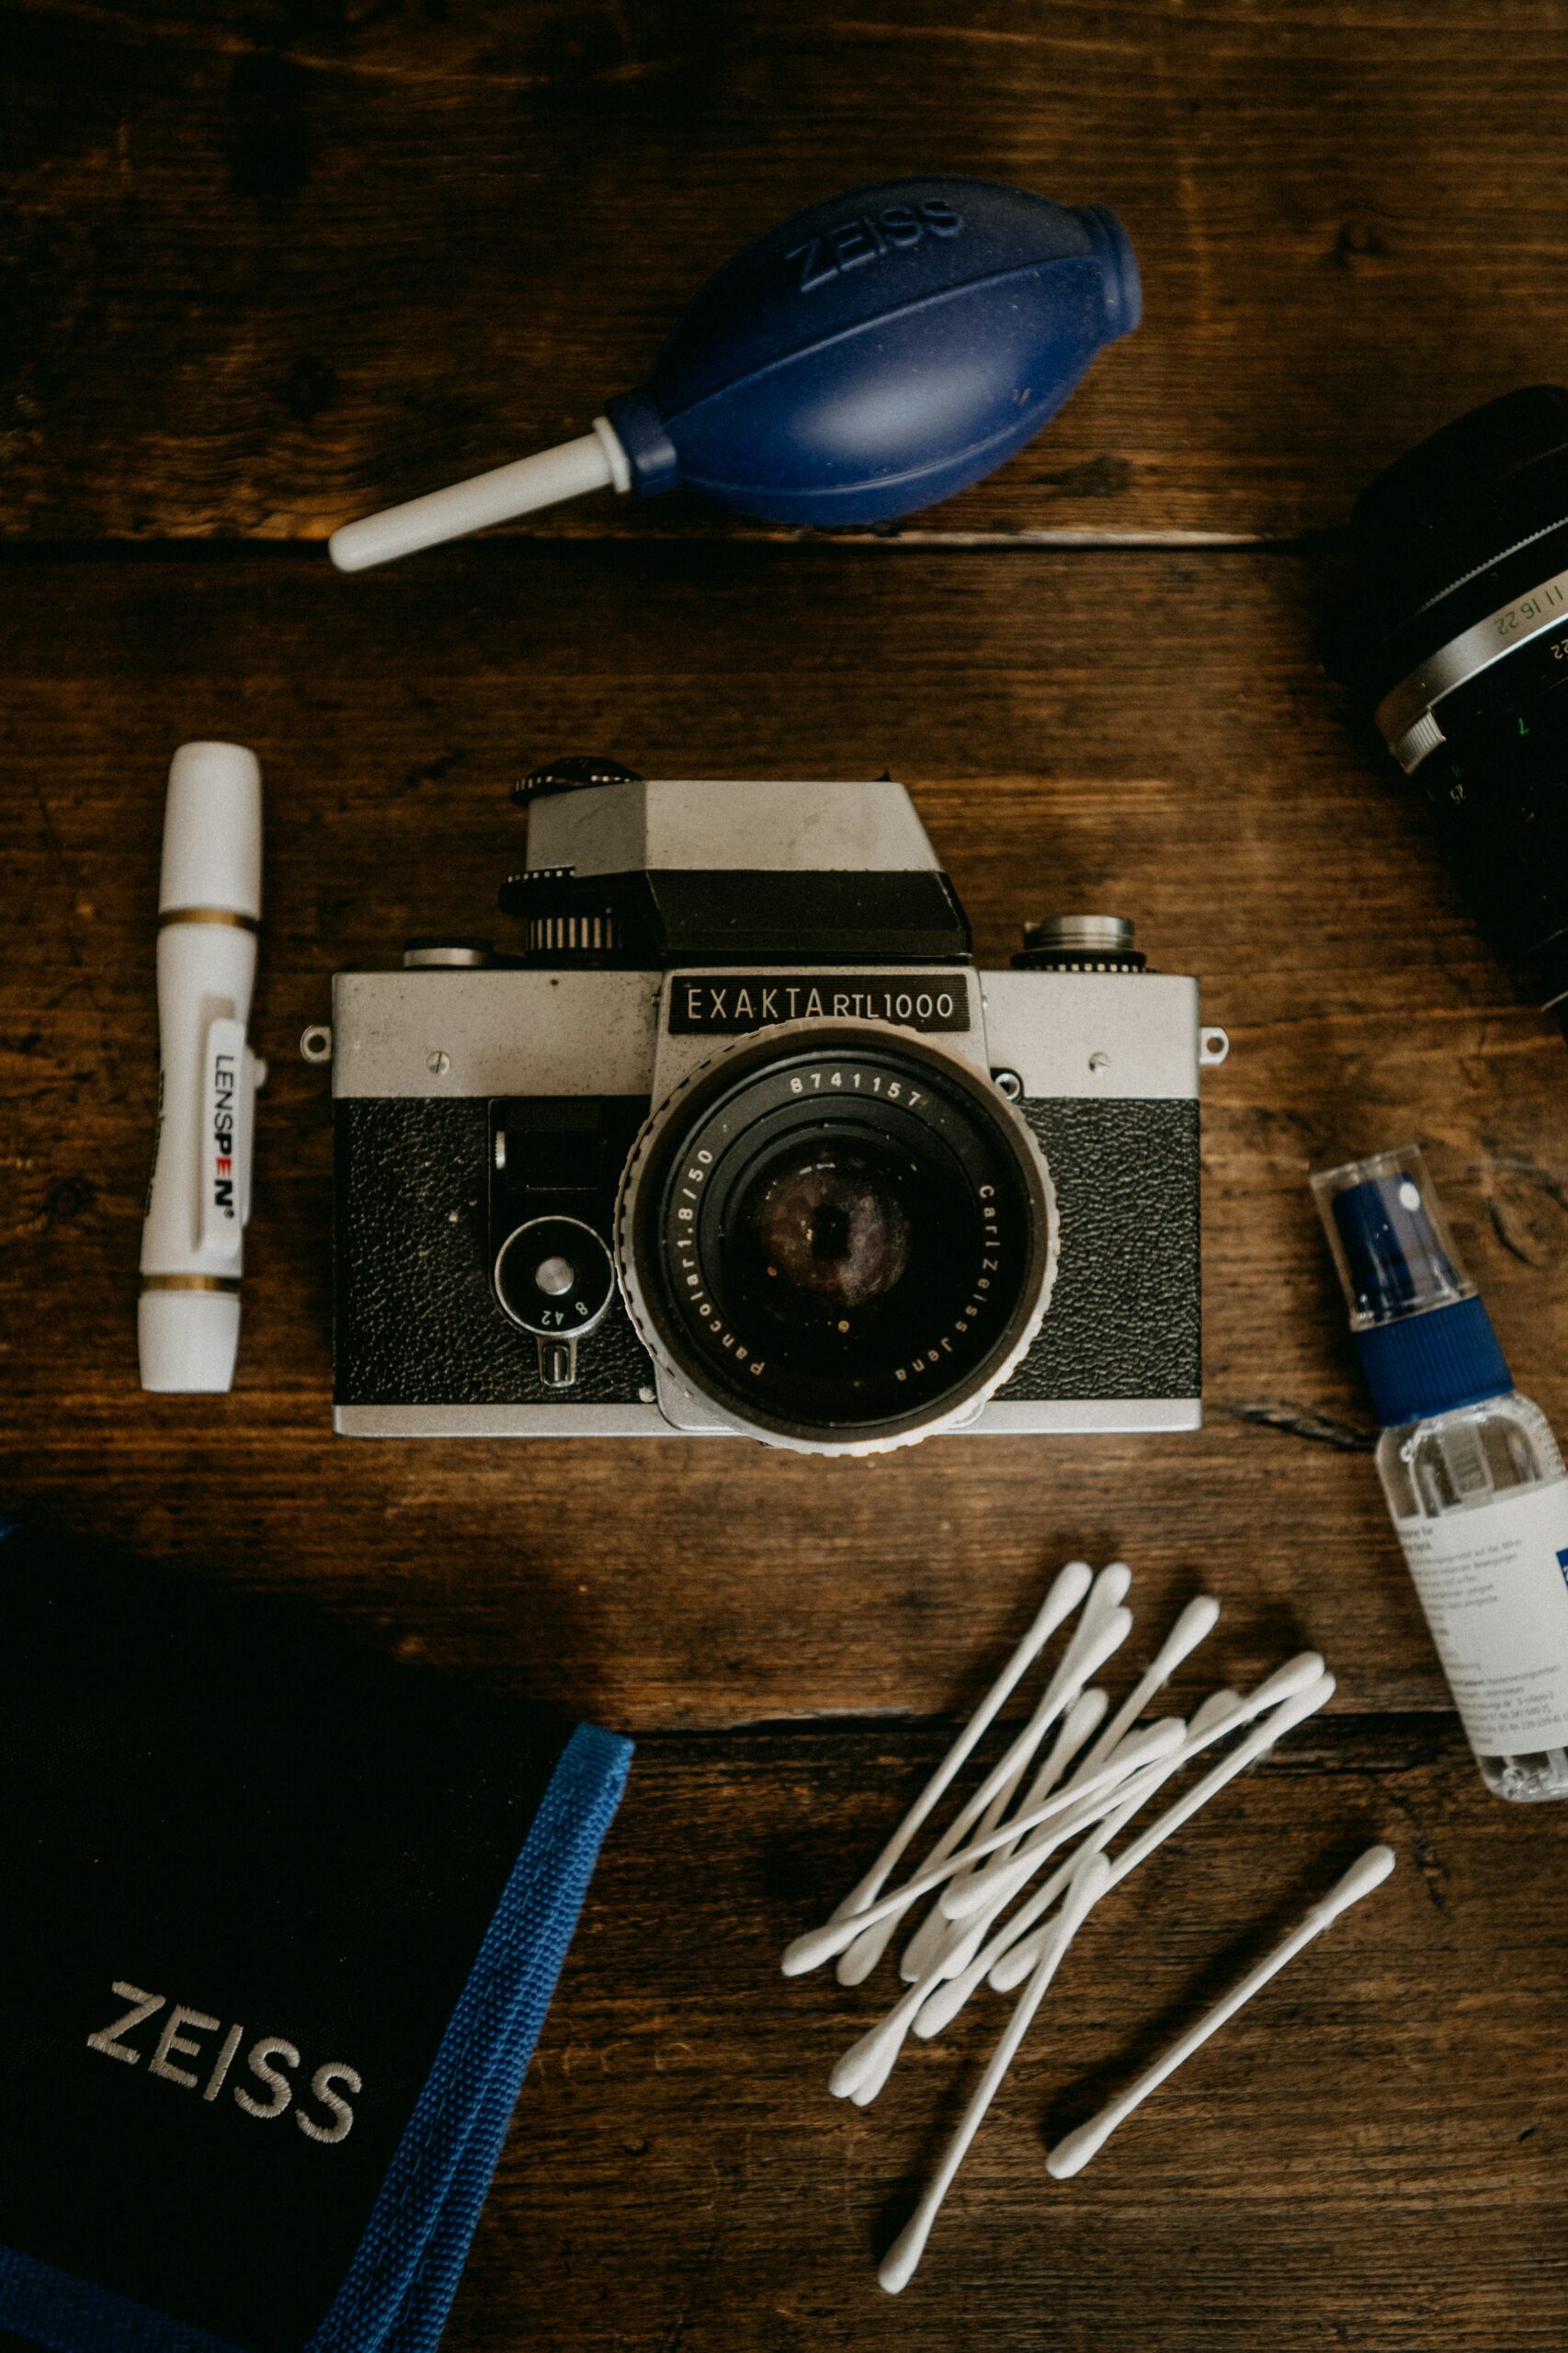
- A rocket-style bulb blower (never canned or compressed air)
- Sensor cleaning swabs sized correctly for your sensor (full-frame and crop sensors use different sizes)
- Sensor cleaning fluid made specifically for camera sensors
- A fully charged battery
- A clean, dust-free room to work in
How To Clean A Camera Sensor At Home?
1. Try Your Camera’s Built-In Sensor Cleaning Mode First
Most cameras have a sensor cleaning function in the menu that vibrates the sensor to shake off loose dust. It won’t fix everything, but it’s the safest possible first step, since it doesn’t involve touching anything.
2. Dry-Clean With A Bulb Blower
Remove the lens and switch the camera into mirror lock-up or sensor cleaning mode so the sensor stays exposed and still. Hold the camera with the lens mount facing down, so gravity helps pull dust out rather than back onto the sensor, and squeeze a few puffs of air from the blower without letting the tip touch the sensor itself.
3. Wet-Clean With Sensor Swabs If Dust Remains
If dry cleaning didn’t get everything, apply two or three drops of sensor cleaning fluid to a fresh swab sized for your sensor. Wipe across the sensor in one smooth pass in a single direction, then flip the swab over and make a second pass in the opposite direction. Use a new swab if you need to repeat this. Never reuse one.
4. Take Another Test Shot To Check Your Work
Repeat the small-aperture test shot from earlier and zoom in on the result. If spots remain, you can try another swab pass, but if the same spots keep showing up after a couple of attempts, stop and treat it as a job for a professional instead.
If you’d rather watch the process than read through it, this walkthrough covers the same steps in practice:
What To Avoid When Cleaning A Camera Sensor
- Canned or compressed air. It’s far more forceful than a bulb blower and can push dust deeper in or damage internal components.
- Lens cleaning liquid, glass cleaner, or any household cleaning product. Sensor coatings need a fluid made specifically for them.
- Cotton buds, lens pens, or microfiber cloths directly on the sensor. These can scratch the surface or leave fibers behind.
- Touching the sensor or the blower tip against it, even by accident.
- Reusing a swab for a second pass. Contamination from the first pass just gets reapplied.
When Should You Send It To A Professional Instead?
If the spots turn out to be oily smudges rather than dry dust, if a wide area of the sensor is affected, or if a couple of careful attempts haven’t cleared it up, it’s time to stop. Camera repair centers and many local camera shops offer sensor cleaning as a standalone service, and it costs a lot less than replacing a sensor you’ve scratched trying to save that fee.
Conclusion
So, how do you clean a camera sensor at home? Confirm it’s actually sensor dust with a proper test shot, gather the right tools, start with the built-in cleaning mode and a blower before reaching for swabs, and know when to stop and hand it to someone with more experience.
Done carefully, it’s a five-minute fix you can do yourself every few months. Done carelessly, it’s the fastest way to turn a dusty sensor into a cracked one, so take your time with it.