
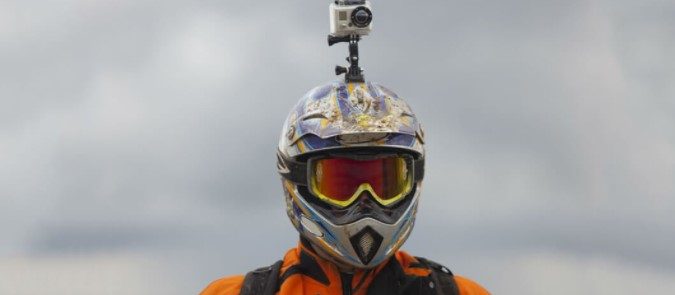
Capturing the stunts or the race, action cameras offer the great view that you want. Therefore, you will get a perfect POV position when it’s on your helmet.
Here comes the question, can you mount the camera on a helmet? If so, how to attach an action camera to bike helmet?
You can mount an action camera on different places of the helmet like the chin, top, or side. You will have to use a mounting bracket specifically designed for the side you’re planning for. After that, you can follow the steps and instructions we’re about to discuss.
Here’s what you need to do and how you mount GoPro or other action cameras securely:
Why Do You Need To Mount An Action Camera
The wider view with a tiny body makes action cameras perfect for versatile jobs and games.
With a global action camera market forecast of 4.4 billion in 2030, it’s imaginable how fast this tech is ramping up. So, the use of the camera is now more like the smartphone cameras.
But you have to mount it in games like paintball games where the camera needs more stability. Here are the core reasons to mount an action camera.
Durability
The mounting makes the camera more durable during high-speed action. Therefore, you don’t have to worry about the stable footage of the camera in any scenario. Also, it keeps the POV position efficiently all the time.
Safety
The camera has a lightweight body with a smaller size. So, the safety of the camera depends on how you use it. Camera helmet mounts mostly have molded plastic material and aluminum. Therefore, it gives compact protection with a waterproof rating to the camera and prevents any wobbling issues.
Stable POV Performance
When you are up to a road trip or racing, the vibration and air resistance makes the camera footage unstable. Hence, the problem can be solved with just a mount on the helmet. Mounting the camera will give stable POV footage with real-time reactions in extreme conditions.
Security
Action cameras come with a long-lasting battery and higher resolution video quality. Also, it brings in the higher frame rate of the camera available with a cool angle. Therefore, it can be a great use for security. Using a handlebar mount or chest mount with the camera makes it perfect on the car or in the security batches.
How to Attach Action Camera to Bike Helmet
Attaching cameras in bike helmets isn’t rocket science, rather needs some practical knowledge. The proper attachment depends on some factor you have to take into account. Consider the following details to know how to do it:
Select your position first
You can position the camera into three places of a bike full-face helmet- Top position, side position, and chin position. If you want to capture just the view ahead of you, the top and side mounting position will be efficient. But if you are thinking about capturing the horizon area around yourself, side mounting will be the best.
Before mounting
Most of the action camera users use adhesive mounts on the helmet now. But we will prefer you to go old school for the top mount, using the straps to attach the camera. Hence, the reason is that the adhesive mount wobbles on the top and can get off on a harsh brake.
The process
Here’s the process you’d follow to mount your action camera to your bike helmet:
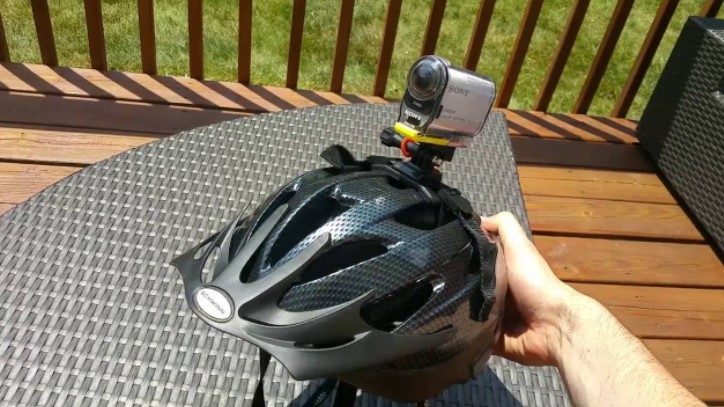
If you’re top mounting the camera
This position will allow you to see what the rider is seeing but with a full-frontal view. Also, you can have the backward view by rotating the mount staying some inches above the helmet. Here are the steps to mount the camera on the top,
- Put the mount in the center of the top helmet surface.
- Open the clips and find out the vents.
- Let the adjustable strap get into the vents after the clips of the helmet.
- Tighten the strap thread till the mount have no room for wobbling.
- Close the clips and put the camera into the mount.
- Tighten the thumbscrews of the flat or curved GoPro mount.
Side mounting techniques
As the name prefers, the position will capture the user’s one side of the view. But it’s pretty effective for landscape and roadside views. Follow these steps for side mounting of the action camera.
- Choose a flat surface on any side of the helmet.
- Clean the area with an alcohol pad or the cotton and wait till dry.
- Put the adhesive mount in the place and hold it still for a few seconds.
- Let the release buckle into the mount when it entirely sticks up.
- Put the camera into the mount after closing the latch.
- Stable the camera by connecting it with a release buckle and screwing the thumbscrew.
Chin mounting method
The chin mount position provides the real-time reaction with the frontal view of the rider. That’s why most pro racers love this position. But you have to be careful of choosing the right amount.
Hence, we suggest you use a mount with an aircraft-grade aluminum body as it will feel direct vibration on it. Also, the bike helmet should be without any ridges or texture.
Here’s the mounting process-
- Clean the chin area of the helmet with alcohol or plastic cleaner.
- Put the mount on the middle of the chin area and put pressure on it.
- Let the adhesive glue stick on the helmet and hold it still.
- Put the camera into the mounting frame.
- Close the latch and set the camera into a straighter view.
- Attach the mounting buckle with the camera mount and keep the latch down.
- Use a swivel mount if you want the freedom to adjust angles on curved surfaces.
Safety Tips When Using Helmet And Camera for Paintball
Bike helmets are mostly used by racers and snow runners and cameras for capturing the ride. But now it’s being popular in the paintball game community as well. The reason is clear, bike helmets are versatile, and the cameras do the capturing pretty well.
As the helmet ensures safety, it also becomes easier when you’re mounting a camera for paintball games to it. But you have to take some precautions mounting on it. Here they are:
- Try to purchase an aluminum-bodied and nylon webbing mount for the helmet.
- Keep the helmet surface clean before attaching the camera mount.
- Select a proper position to mount the camera. If you are up to multiple mountings, go for the top mount in the first.
- Check the mount’s adhesive glue before using it on the helmet. The glue must stick before any kind of vibration or air resistance.
- Have a look at the mount and camera frame precisely if there are any broken or worn-out issues.
- Set the shooting angle and mounting locations precisely as the view you want.
- Keep the thumbscrew and straps as tighter as possible. The camera often loses its position for loose straps.
- Unmount the camera properly by the manual when you are done capturing.
Conclusion
Securely mounting cameras always brings in a significant result of capturing footage. Like a tripod or gimbel, you can have stabilized imagery with mounts on the helmet, but you must know how it’s done.
Now that you know all about how to attach an action camera to a bike helmet, mount it like a pro. Also, use the proper adhesive and mounting hardware to have it done perfectly.